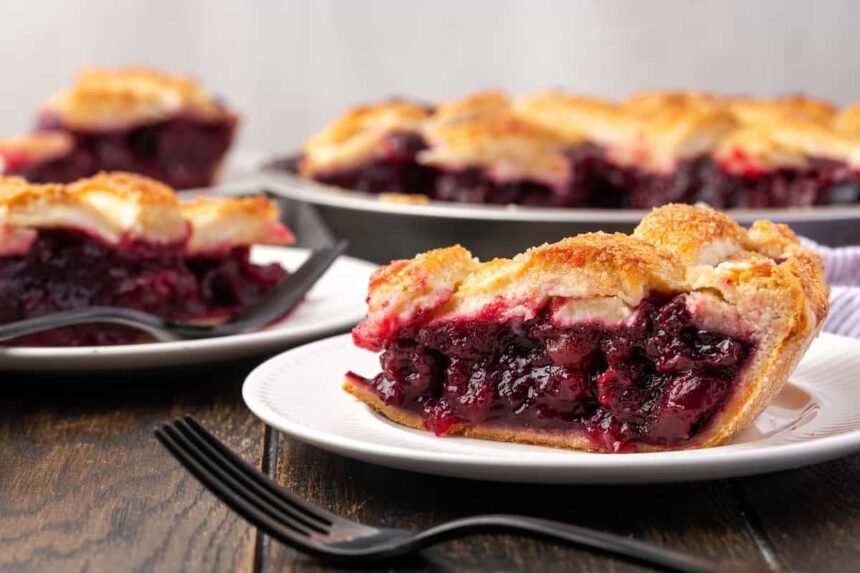
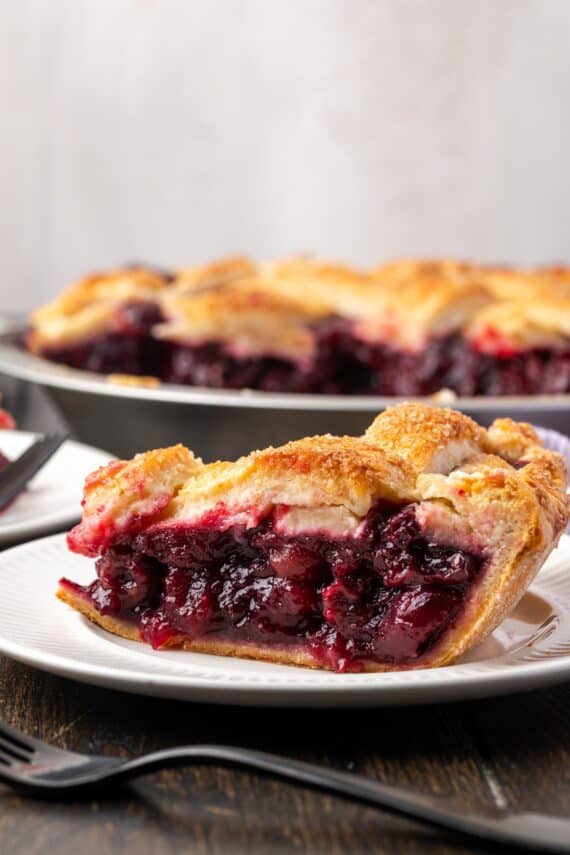
This easy cherry pie recipe is thick and sliceable, with juicy cherry filling baked inside a golden, flaky pastry crust. Make it with fresh cherry pie filling and homemade pie crust for an extra-special summer dessert.
Like my blueberry cobbler, I love serving pie à la mode with a big scoop of homemade ice cream in the summer months!

Cherry pie is one of my go-to desserts at the height of cherry season here in the US. This pie is a classic recipe, packed with juicy sweet-tart homemade cherry filling and set in my favorite flaky pie crust. With Easter around the corner, I’m already picturing this pie on the dessert table next to the sponge cake and lemon cream cheese braid. I can’t think of a better way to end off brunch, and I’ll definitely be baking it again over the rest of the summer.
What Makes This the Best Cherry Pie Recipe
- Easy to make. I make this pie from scratch with my easy 10-minute cherry pie filling and a buttery homemade crust. Both are simple recipes, but you can always substitute your favorite store-bought versions if you’re pressed for time.
- Thick and sliceable. After many rounds of testing, I’ve finally cracked the secret to thick slices of pie that hold in the filling. No runny cherry pie here! It comes down to simmering the cherries long enough and giving the pie plenty of time to set.
- Perfect for any season. Cherry pie is the perfect way to make the most of in-season fruit. The filling turns out best when I make it with ripe, sweet dark cherries. That being said, you can make this pie year-round with frozen cherries, too.

Ingredients You’ll Need
You really only need a handful of ingredients to make a perfect cherry pie. Even my crust recipe uses pantry staples that you likely have on hand. See my notes below. I’ve linked to the crust and filling recipes in the recipe card, where you’ll also find the ingredients list for this pie with specific amounts.
- Cherry Pie Filling – Homemade cherry pie filling is simple to make and so much better than store-bought (see below). Of course, if you’re not feeling up to making your own, or if you’re in a hurry, canned cherry pie filling works in a pinch.
- Pie Dough – Again, I prefer to use my homemade pie crust recipe. And again, if you’d prefer to use a store-bought refrigerated pie crust, that’s more than fine!
- Butter – Cut butter into cubes while it’s cold from the fridge.
- Egg – You’ll whisk an egg with water and salt to make an egg wash for the crust. It’s the key to a golden, glossy finish.
- Coarse Sugar – For sprinkling over the crust before baking. Make sure it’s coarse sugar and not granulated sugar, which dissolves in the heat.
Easy Homemade Cherry Pie Filling
While canned filling will produce a perfectly acceptable cherry pie, if you ask me, nothing compares to the taste and thickness of homemade cherry pie filling. It’s as easy as tossing fresh or frozen cherries with water, sugar, lemon juice, and cornstarch and then simmering everything on the stovetop for 10 minutes. It stores in the fridge for days, and you can use the leftovers as a topping for cheesecake!

How to Make Cherry Pie
The pie crust and cherry pie filling each take about 10 minutes to make (I’ll usually get the filling simmering on the stove while I make the pie dough). Once your pie filling and dough are ready, follow the steps below. You’ll find the printable instructions in the recipe card.


- Prepare the pie crust. Start by flouring your work surface and rolling out one half of the pie dough into a 12-inch circle. Afterward, gently press the crust into a 9-inch pie plate.


- Add the filling. Next, spread the cherry pie filling into the crust. Dot the top of the filling with cubes of butter.
- Add a top crust. Now, place the top crust over the pie and fold and crimp the edges. You can do a lattice crust like the one pictured (I include an in-depth tutorial on how to make a lattice pie crust in my apple pie recipe, for those interested). Otherwise, if you keep it simple with a solid crust, remember to cut 4-6 vent holes in the top to allow the steam to escape.


- Add an egg wash. Whichever top crust style you choose, finish it with an egg wash. Beat an egg with water and a pinch of salt, and brush the mixture all over the crust. Afterward, add a sprinkle of coarse sugar.
- Bake. Finally, place the cherry pie on a baking sheet, and pop that into a preheated oven to bake at 375ºF for 50-55 minutes. The filling should bubble for at least a few minutes before the pie comes out of the oven, and the crust should be golden brown.
- Cool. The key to a perfectly sliceable cherry pie is ample cooling time, so make sure to budget at least 4 hours for this pie to cool. I even like to bake the pie up to one day ahead of serving and let it set overnight.

Make It Ahead
I’ll sometimes bake two cherry pies, one to enjoy now and one to freeze for later. This pie freezes well before or after baking (see the storage tips below on how to freeze the baked version). To freeze the unbaked cherry pie, prepare the pie as directed and wrap it tightly in plastic wrap, then in foil. Keep it frozen for up to 1 month. When it’s time to bake, unwrap the pie and bake it straight from frozen with 10-15 minutes added to the baking time.

Recipe Tips
- Cook the filling. It’s important to simmer fresh cherries for the filling to avoid a soggy cherry pie. Pre-cooking the filling also prevents a cavity from forming under the top crust, which happens when fresh, uncooked cherries shrink as they bake. This doesn’t apply if you’re using a ready-to-use cherry pie filling from the store.
- Avoid burnt edges. I suggest checking the pie after 25 minutes. If you notice the crust is browning quickly, cover the edges with a pie shield or aluminum foil to prevent them from burning while the pie finishes baking.
- Cool the pie completely. If you slice into homemade cherry pie while it’s still warm (as tempting as it might be), you’ll end up with soupy slices that may fall apart. For this reason, I recommend giving this pie 4 hours or more to cool and set before slicing. It’s the secret to thick, picture-perfect slices.

How to Store
- At room temperature. Store the cherry pie for up to 2 days at room temperature. Keep it lightly covered so that the crust doesn’t become soggy.
- Refrigerate. For longer storage, you can keep the covered pie in the fridge for up to 5 days.
- Freeze. Once the baked pie has cooled completely, wrap it tightly in plastic wrap and a second layer of foil, and freeze it for up to 1 month. Thaw the pie, unwrapped, at room temperature.
Print
Description
This easy cherry pie recipe is thick and sliceable, with homemade cherry pie filling baked inside a golden, flaky pastry crust.
- 1 batch Cherry Pie Filling
- 1 batch Homemade Pie Dough
- 1 1/2 Tablespoons Butter, cut into small cubes
- 1 Egg
- 1 Tablespoon Water
- 1/8 teaspoon Kosher Salt
- 1–2 Tablespoons Coarse Sugar
- Preheat the oven to 375ºF.
- Roll out one half of the pie dough on a floured work surface until it is a 12-inch diameter circle.
- Transfer the dough sheet to a 9-inch pie plate. Work the dough gently into the shape of the pan.
- Add the cherry pie filling in an even layer.
- Dot the top of the pie filling with the pieces of butter.
- Add the top pie crust, either as a lattice or a solid top. If you use a solid top, cut 4-6 vent holes.
- Fold the edges under and crimp in your desired style.
- Combine the egg, water, and salt in a small bowl and beat well.
- Brush the egg mixture over the top crust.
- Sprinkle it with coarse sugar.
- Place the pie pan on a baking sheet. Bake in the preheated oven for 50-55 minutes or until the filling is bubbling for at least 5 minutes and the crust is golden brown. Check the pie after 25 minutes, as you may need to cover the edges to prevent burning.
- Remove from the oven and let cool for 4 hours up to overnight before slicing.