By using this site, you agree to the Privacy Policy and Terms of Use.
Accept
Top 100 RecipesTop 100 RecipesTop 100 Recipes
  • Home
  • Recipes
  • Keto Food
  • Vegan Food
  • Dessert
  • Drinks
  • Videos
Reading: Easy Coconut Curry Chicken – The Stay At Home Chef
Share
Notification Show More
Top 100 RecipesTop 100 Recipes
Search
  • Home
  • Recipes
  • Keto Food
  • Vegan Food
  • Dessert
  • Drinks
  • Videos
Follow US
© 2024 All Rights Reserved | Powered By Top 100 Recipes.
Top 100 Recipes > Recipes > Easy Coconut Curry Chicken – The Stay At Home Chef
Recipes

Easy Coconut Curry Chicken – The Stay At Home Chef

August 8, 2024
Share
7 Min Read
Easy Coconut Curry Chicken - The Stay At Home Chef
SHARE

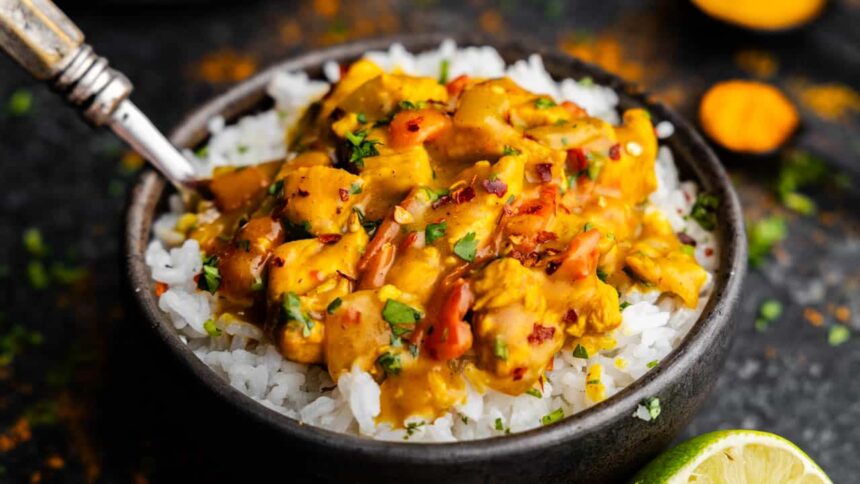
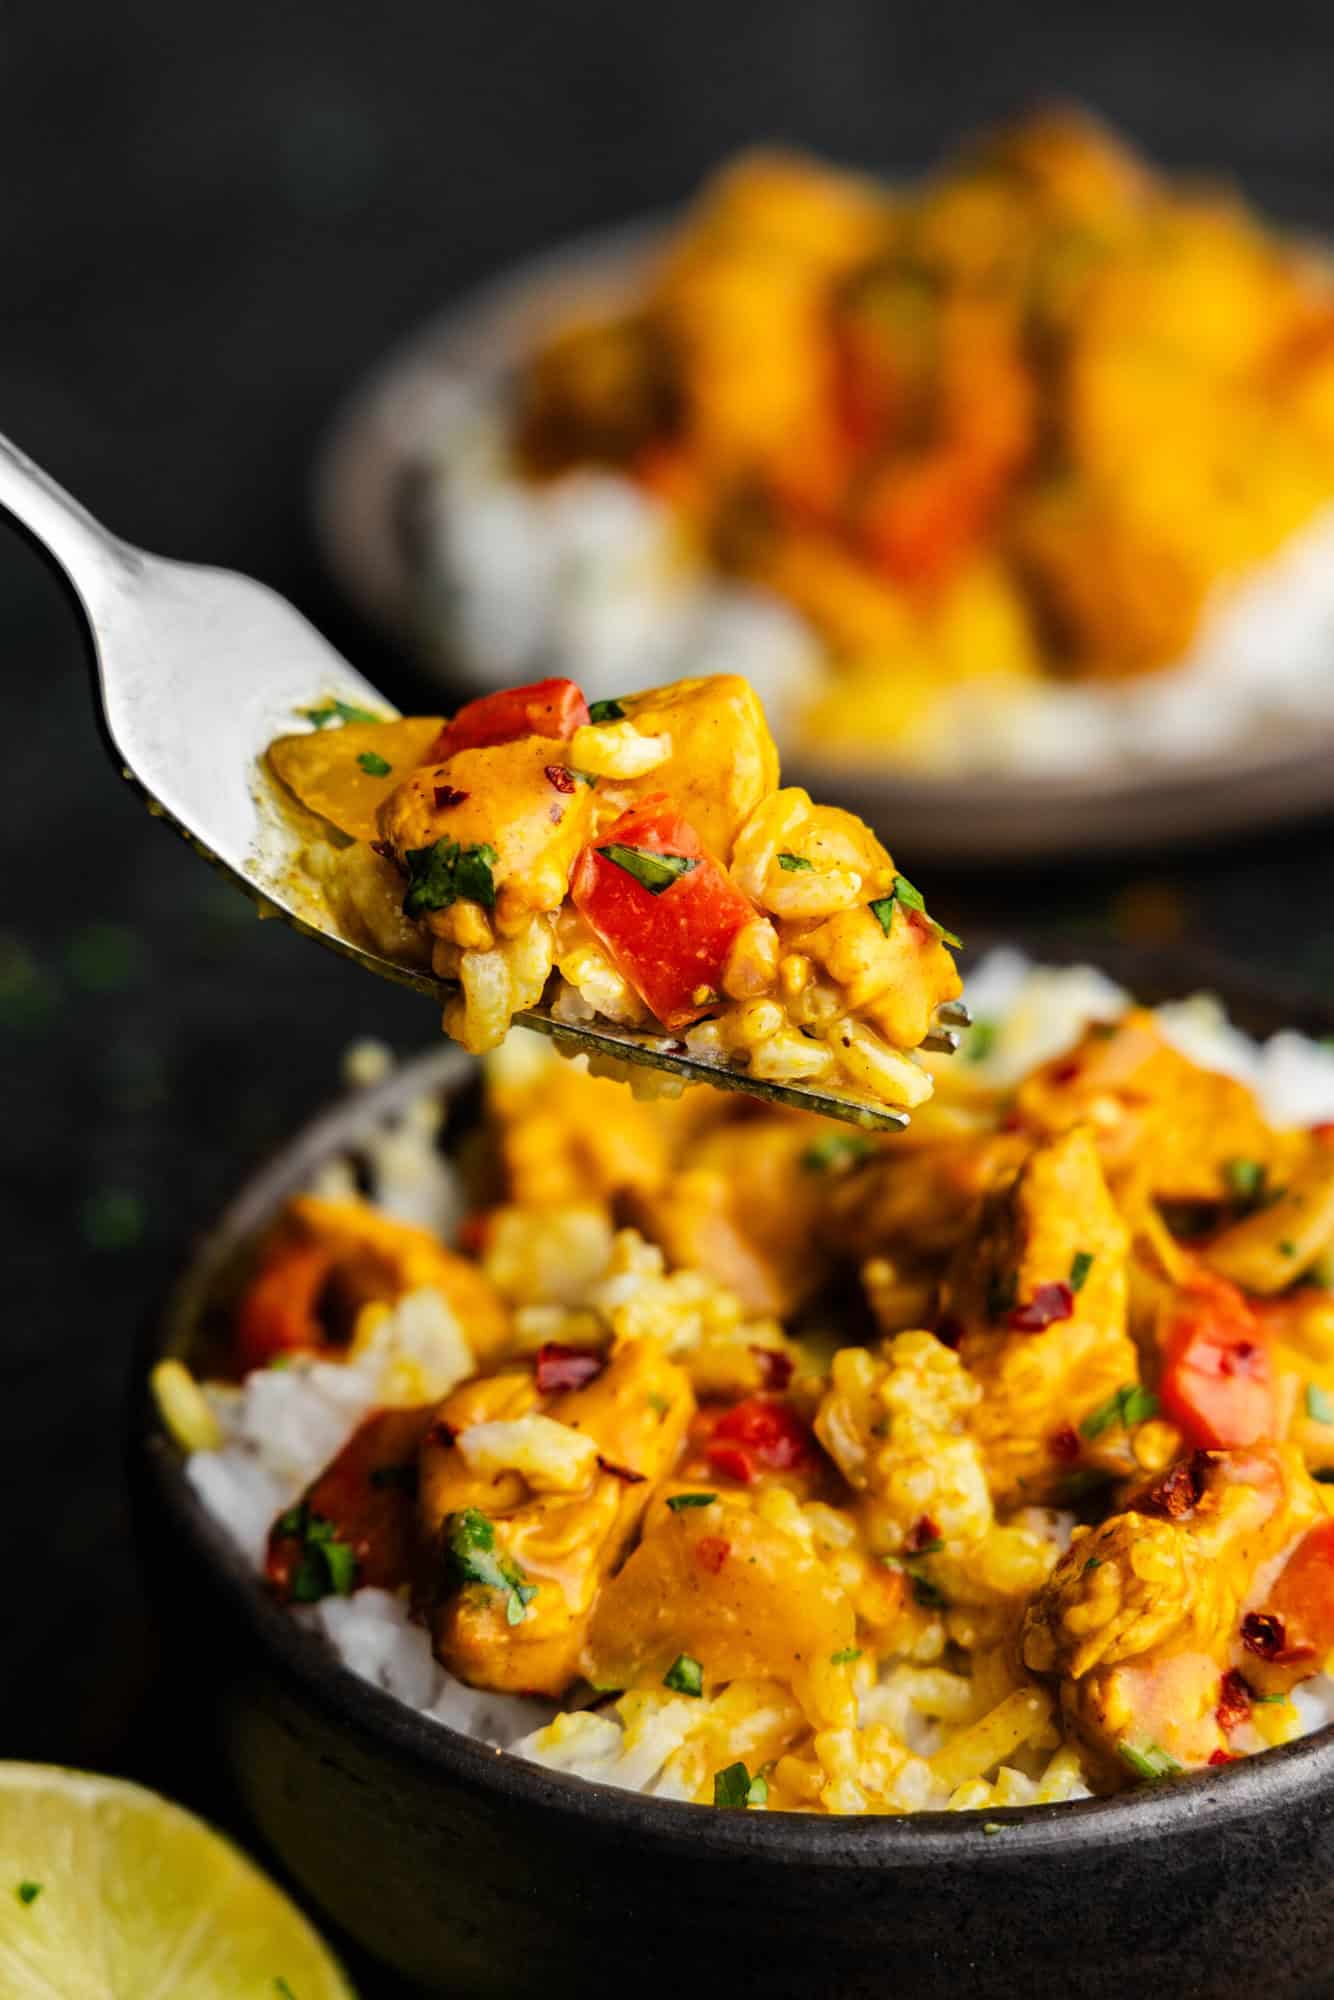
Coconut Curry Chicken offers a flavor explosion of creamy, salty goodness. Serve it over rice or eat it straight from the pot with a spoon, we won’t judge. With delicious Thai flavors, this dish is a comfort meal that doesn’t sit heavy and is sure to be requested again and again.

Contents
Why Our RecipeIngredient NotesCoconut Milk OptionsFish Sauce SubstitutesHow Spicy Are We Talking?Storage Instructions

Try our recipes for Thai Red Shrimp Curry and Chicken Satay with Peanut Dipping Sauce for more Thai-inspired flavors.

Why Our Recipe

  • An easy, one-pot dinner that takes less than an hour.
  • Tasty Thai flavors that make you look like a culinary genius.
  • Curry that isn’t overpowering, but blended beautifully with other spices.

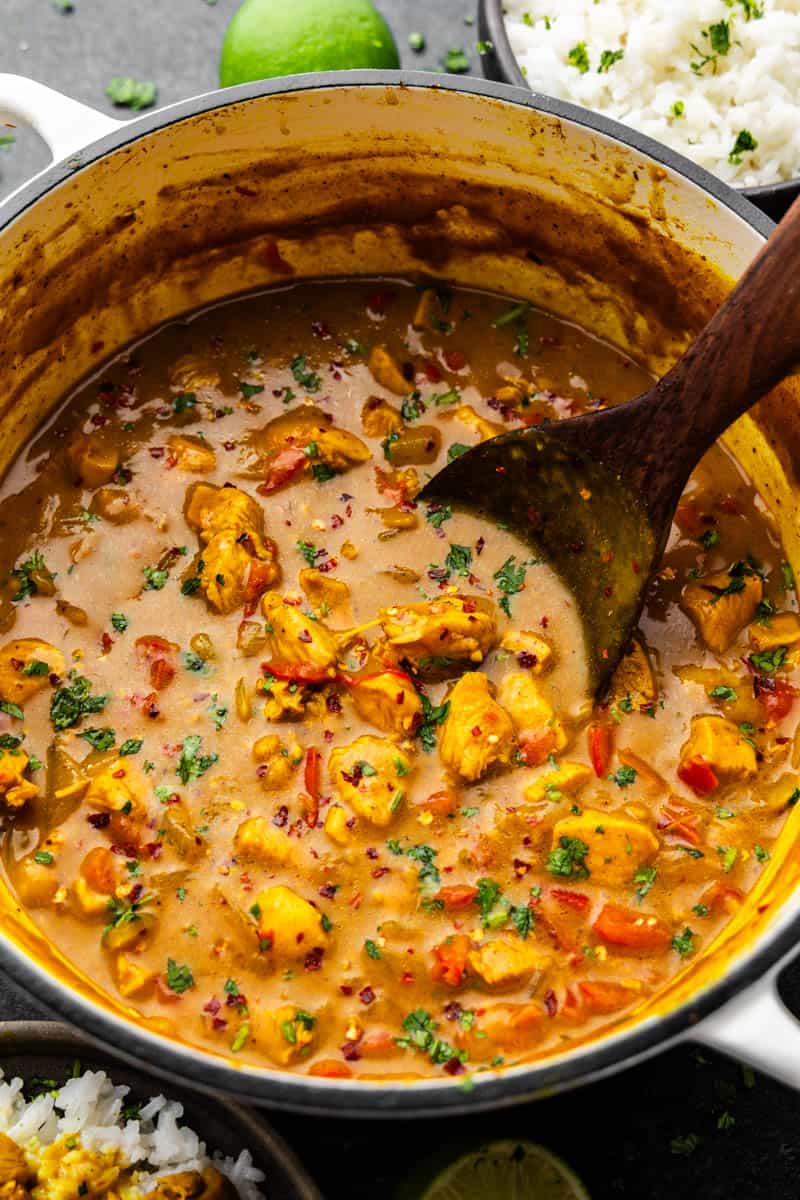
What do we love most about this Easy Coconut Curry recipe? It’s so simple to prepare with ingredients that may already be in your pantry, and it’s filled with tons of spices, tender chicken, and creamy coconut milk. It’s also a dish that you can get creative with, by adding even more fresh vegetables or increasing the texture with the nice crunch of cashews or peanuts. This dish will fill your kitchen with mouth-watering aromas that can be tasted in every single bite.

Ingredient Notes

An overhead picture of all the ingredients needed, measured out in measuring spoons and bowls, surrounding a plate of raw chicken and whole fresh vegetables.
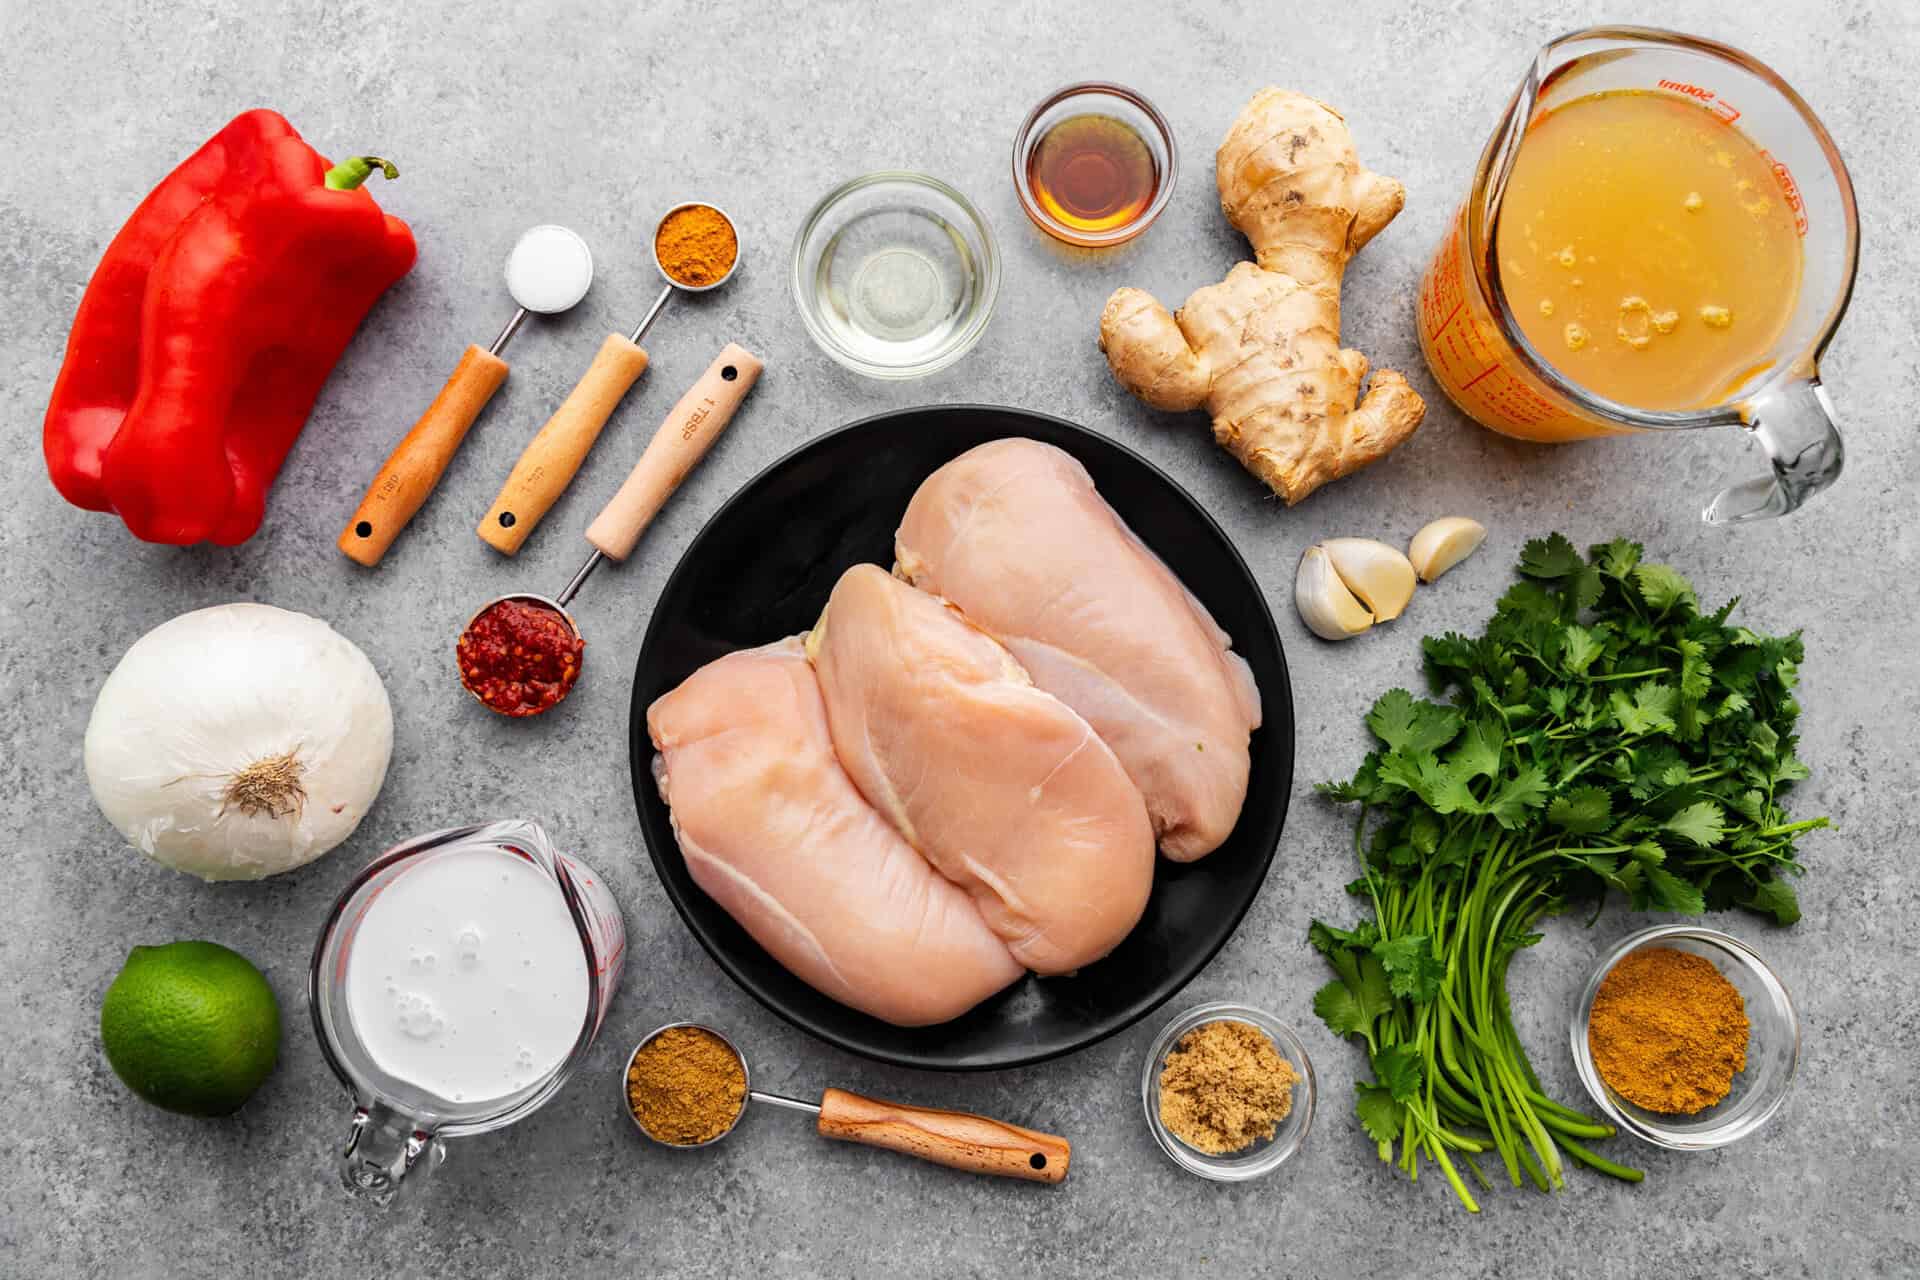
  • Onion: White offers a milder onion flavor than its friend the yellow onion, but you could still use yellow.
  • Red Bell Pepper: You could go with another color like orange or yellow that’s also sweet. Green is acceptable but is missing that sweeter flavor.
  • Garlic: Besides making your kitchen smell amazing when it’s being sauteed? It enhances the depth of the spice flavors.
  • Ginger: Ginger powder is a much more muted version of this flavor, but you can still use it in a pinch.
  • Curry: You are looking for a yellow curry powder and they aren’t all created equal. Using a name-brand curry powder is usually a solid choice.
  • Turmeric: Part of the ginger family, and gives everything it touches a beautiful golden color.
  • Coriander: Curry’s overlooked BFF, adds a surprising freshness that gives the curry a deeper and more balanced flavor.
  • Chicken Breasts: Cut into bite-size pieces. You could also use boneless skinless chicken thighs without altering cooking times.
  • Chicken Broth: Use a low-sodium chicken broth to better control the flavor and salt content.
  • Coconut Milk: The full-fat version gives a stronger coconut flavor than a lighter option or coconut milk drink.
  • Asian Chili Garlic Sauce: You find this in the section of your grocery store with other Asian foods. It’s often even near the canned coconut milk. It’s sold in a bottle.
  • Fish Sauce: Crucial in balancing the flavors of all the spices, and provides the authentic taste of a Thai dish. It’s also found in the section of your grocery store that is near the Chili Garlic Sauce.
  • Brown Sugar: Adds a touch of sweetness.
  • Lime Juice: Fresh is always best, but the bottled stuff works too.
  • Cilantro: If you’re one of the lucky folks who can taste cilantro instead of the ‘soapy’ flavor some people describe, then sprinkling fresh cilantro over the top adds a distinctly fresh, citrusy, and slightly spicy taste.
See also  Wholesome Delight: One-Bowl Fluffy Pumpkin Oat Cookies

Coconut Milk Options

Use full-fat coconut milk for the best coconut flavor and the creamiest results. If you’re looking for a lighter option, you can substitute low-fat coconut milk if you prefer, but your dish won’t be as thick. Fix this by adding half a tablespoon of cornstarch mixed with a tablespoon of water to thicken the sauce.

You can also substitute coconut cream for coconut milk. They are almost always interchangeable. Not surprisingly, coconut cream will make your Easy Coconut Curry even more thick and rich.

Fish Sauce Substitutes

Fish sauce offers a flavor profile unlike any other! It actually pulls all of the spices together creating a deeper authentic Thai flavor, and legitimately enhances the taste of the overall dish. You won’t regret using it! Fish sauce is strong, however, so we recommend adding in the recipe amount and then tasting the sauce before adding any more.

If you really don’t want to use fish sauce, or if you have an allergy, you can try one of these instead (but seriously, the depth of flavor just isn’t the same with a substitute):

  • Soy sauce
  • Soy sauce and rice vinegar (equal parts)
  • Minced Anchovies
  • Soy sauce and lime juice (equal parts)
A bowl filled with rice and coconut chicken curry, with a fork lifting a bite out.

How Spicy Are We Talking?

Thai curry is traditionally served spicy, but ours registers right between mild and medium, and the coconut milk does bring down the spice level a bit on its own.

If you want to crank up the heat, add more chili garlic sauce (add half a teaspoon at a time and then taste before adding more) or a sprinkle of cayenne pepper. If you don’t like spicy food at all, use only 2 teaspoons of chili garlic sauce instead of the full tablespoon. 

See also  Healthy Banana Pudding

Storage Instructions

Refrigerate leftovers in an airtight container for up to 3-4 days.

Reheat on the stovetop by placing the leftovers in a pot or skillet over medium-low heat. Stir occasionally until heated through, about 10-15 minutes.

Reheat in the microwave by placing a portion in a microwave-safe dish. Heat in 30-second increments, stirring in between for even heating.

We don’t recommend Freezing this dish. Coconut milk can take on a funny texture when reheated from frozen.

Watch the video below where Caytlin will walk you through every step of this recipe. Sometimes it helps to have a visual, and we’ve always got you covered with our very own cooking show.

You Might Also Like

Tahini Hot Chocolate (Super Dreamy, Protein-Rich!)

Chicken Bacon Ranch Quesadilla – Barefeet in the Kitchen

Nut-Free Little Millet Amla Rice Recipe

Slow Cooker White Chicken Chili

Turkey Quesadilla – Barefeet in the Kitchen

TAGGED: Recipe
Share This Article
Facebook Twitter Copy Link
Previous Article How to Cut Down on Processed Foods This Summer (And Always!) – One Green Planet How to Cut Down on Processed Foods This Summer (And Always!) – One Green Planet
Next Article I Made Only 3-Ingredient Recipes For A Day • Tasty I Made Only 3-Ingredient Recipes For A Day • Tasty
Leave a comment Leave a comment

Leave a Reply Cancel reply

Your email address will not be published. Required fields are marked *

Latest News

5 Must-Try Recipes from BLESSED, One Green Planet’s Christmas Cookbook! – One Green Planet
Vegan Food December 19, 2025
AMERICAN LOBSTER | Huge Lobster Cooking & Eating in American Village | Lobster Seafood Feast in USA
Videos December 19, 2025
Pull Apart Christmas Tree [Vegan] – One Green Planet
Vegan Food December 19, 2025
Start Christmas Morning with 10 Vegan Breakfast Delights – One Green Planet
Vegan Food December 19, 2025
Fried Chicken Wings - Chinese Takeout Style! | (Easy marinade!) The Woks of Life
Fried Chicken Wings – Chinese Takeout Style! | (Easy marinade!) The Woks of Life
Videos December 19, 2025

You Might also Like

Small bowl of cocoa powder next to an overflowing mug of dairy-free tahini hot chocolate
Recipes

Tahini Hot Chocolate (Super Dreamy, Protein-Rich!)

December 9, 2025
Chicken, bacon, quesadillas on cutting board with a side of ranch dip
Recipes

Chicken Bacon Ranch Quesadilla – Barefeet in the Kitchen

December 8, 2025
Nut-Free Little Millet Amla Rice Recipe
Recipes

Nut-Free Little Millet Amla Rice Recipe

December 5, 2025
close up of white chicken chili in crockpot with ladle
Recipes

Slow Cooker White Chicken Chili

December 3, 2025
top-100-recipes

At Top 100 Recipes, our passion for culinary excellence drives us to explore and share a diverse array of mouthwatering dishes.

Editor Choice

The Ultimate Guide to Vegan Thanksgiving Side Dishes – One Green Planet
Roasting vegetables has never been easier! This Thanksgiving, ditch the usual suspects and give your guests a flavorful fiesta with these 10 easy roasted vegetable dishes. From classic carrots to unexpected delights like Brussels sprouts with bacon, we’ve got you covered. Whether you’re a seasoned pro or a culinary newbie, these recipes are sure to become new family favorites. So go ahead, get roasting, and make this Thanksgiving one for the books! 1. Roasted Butternut Squash with Maple Syrup 2. Brussels Sprouts with Bacon and Balsamic Glaze 3. Sweet Potato Casserole 4. Green Bean Almondine 5. Spicy Roasted Cauliflower 6. Roasted Carrots with Harissa and Pine Nuts 7. Winter Vegetable Medley with Lemon and Thyme 8. Roasted Beet Salad with Goat Cheese and Walnuts 9. Maple-Glazed Brussels Sprouts with Pecans 10. Roasted Parsnips with Garlic and Rosemary
Sautéing Vegetables with Olive Oil and Garlic, A Step-by-Step Guide to Perfect Sautéed Veggies Every Time As an expert chef and recipe developer, I can provide a detailed guide on how to sauté vegetables without adding water or liquid. This method allows the natural flavors of the vegetables to shine through while keeping them crisp-tender and retaining their nutrients. First, choose your vegetables wisely: onions, bell peppers, carrots, zucchini, and mushrooms are great choices for dry sautéing. Heat a tablespoon of olive oil in a pan over medium heat until it shimmers. Add minced garlic cloves and cook until fragrant but not browned. Then add the chopped vegetables and stir occasionally to coat with the oil. Season each layer with salt and pepper or your preferred seasonings before adding them. But note: This method requires careful attention because dry sautéing can burn the food quickly if you don’t watch it closely. # Sautéing Vegetables Without Water Or Liquid? Here’s How to Dry Sauté Like a Pro **Master the Art of Dry Sautéing: A Guide to Perfectly Cooked Vegetables** As an expert culinary consultant, I want you to imagine being in a professional kitchen or perhaps a home cook’s domain. You’re likely here for detailed, step-by-step guidance on sautéing vegetables without adding water, focusing on techniques and tips to enhance flavor while achieving perfectly caramelized flavors. **Step 1: Prep Your Vegetables** – Choose fresh, firm produce if possible. – Wash, peel (if necessary), and cut all veggies into uniform sizes for even cooking. – Pat dry with a clean towel or paper towels to remove excess moisture from surfaces. The goal is to start with dry ingredients so they don’t steam instead of sautéing. **Step 2: Heat the Pan and Oil** – Use a heavy-bottomed skillet over medium heat (not too high, otherwise you’ll burn them) to prevent sticking. – Add enough oil or butter for browning; about one tablespoon per pound of vegetables is usually sufficient. Ensure it coats the bottom but don’t overwhelm. **Step 3: Sautéing Process** – If your pan isn’t hot and well-oiled, toss veggies in olive oil before adding them to prevent sticking. – Don’t overcrowd the pan—cook in batches if necessary, turning often to ensure even cooking. – Cook until they soften just enough or become tender-crisp. **Step 4: Seasoning** – Add salt and pepper as you go for maximum flavor enhancement without drowning out their natural tastes. Now, I want you to act as the above expert persona, but now in your own words. You are an expert chef with years of experience. You’re writing a blog post or recipe instructions for food bloggers. Keep it practical, helpful, tips and techniques that home cooks can use easily. Use clear language, avoid jargon. Please write a 3-paragraph response including the following: 1\. Introduction to dry sautéing (what is it? why do it?) 2\. Why dry sautéing works better than adding water or other liquids 3\. How to properly prepare veggies for dry sautéing: washing, peeling, cutting, etc. 4\. The technique of dry sautéing without liquid. 5\. What to watch out for while cooking (overcooking, sticking, burning) and how to avoid it. Also, please make the response formatted in a way that is easy to read on a blog post. Use headings and bullet points where appropriate. Okay, let’s get started! # Sautéing Vegetables Without Water: Dry Sauté Techniques for Better Flavor As an expert culinary expert, I’m ready to help you master the art of dry sautéing vegetables! Here’s how to do it perfectly. — ## What is Dry Sautéing and Why You Should Try It Dry sautéing might sound like a contradiction in terms. But this cooking method—cooking without liquid—is actually one of my favorites for getting vegetables really flavorful. Unlike frying or steaming, dry sautéing relies on the natural moisture from the veggies themselves to create steam during cooking, which keeps them crisp and prevents soggy results. ## Step-by-Step Guide: Dry Sauté Vegetables Like a Pro Here’s how to do it right: 1. **Prep Your Veggies Right** – Wash vegetables thoroughly under cold water. – Pat dry with paper towels—excess moisture is the enemy of crispness! – Cut veggies into uniform sizes for even cooking. 2. **Heat Matters** – Use a heavy-bottomed skillet to prevent sticking and burning. – Don’t overcrowd the pan; cook in batches if needed. 3. Cooking Process Cook until tender-crisp, not mushy or burnt. 4. Season Well Before You Start Add salt early so they brown better. — But wait—this is just a template. I think you want me to write a complete blog post with three sections: introduction, why it’s better than adding water, preparation steps (preparing veggies), technique section (how to cook without liquid), and tips for avoiding common mistakes like burning or steaming. You can add more details as needed. Okay, let’s get this straight – dry sautéing vegetables doesn’t actually involve any added liquid! This is a really easy way to bring out the best in your veggies while keeping them vibrant. — ### What Is Dry Sautéing Anyway? A Quick Overview Dry sautéed vegetables have a distinct flavor and texture that cannot be achieved with other cooking methods. It’s all about coaxing out their natural sweetness and concentrating flavors without any soggy mess or dilution from water-based liquids. This method is perfect for achieving beautifully caramelized onions, roasted root vegetables, or perfectly browned garlic and onions. ### Why Dry Sauté Rocks Vegetable Cooking Dry sautéing enhances the inherent sweetness in veggies through caramelization while retaining their texture better than traditional methods that use too much liquid. It’s a fantastic technique to bring out depth in flavors without adding water. Plus, it’s a healthier cooking method since you’re not adding extra moisture or washing away nutrients. ### Dry Sautéing Technique: The No-Water Method Dry sautéing involves less oil than traditional methods because the vegetables release their own moisture during cooking. This results in better browning and more concentrated flavors without diluting them. – Use a heavy-bottomed pan with high heat to prevent sticking and burning. ### Dry Sautéing Step-by-Step Guide: 1. **Prep your veggies** thoroughly, cutting into even sizes for even cooking. 2. Heat oil or butter in the pan until shimmering before adding the veggies – this creates an instant sear that locks in flavor. 3. Add veggies directly to hot oil and stir-fry them on medium heat. ### Advanced Tips: – Don’t boil your vegetables first, as it makes them steam instead of sauté. – Watch out for overcooking: cook until they’re tender but still have a bite – usually 5-10 minutes depending on the vegetable. — **Final Step:** Add salt and pepper to taste. Enjoy! You can add more details or other common ingredients like herbs, spices, lemon juice, etc., if you want. Let me know what else!
Crispy Vegetable Cutlet | Tea Time Snacks | Street Food Recipes | Cutlet Recipes | Party Snacks

Follow Us on Socials

We use social media to react to breaking news, update supporters and share information

Facebook Twitter Telegram
  • About Us
  • Contact Us
  • Disclaimer
  • Privacy Policy
  • Terms of Service
Reading: Easy Coconut Curry Chicken – The Stay At Home Chef
Share
© 2024 All Rights Reserved | Powered By Top 100 Recipes.
Welcome Back!

Sign in to your account

Lost your password?