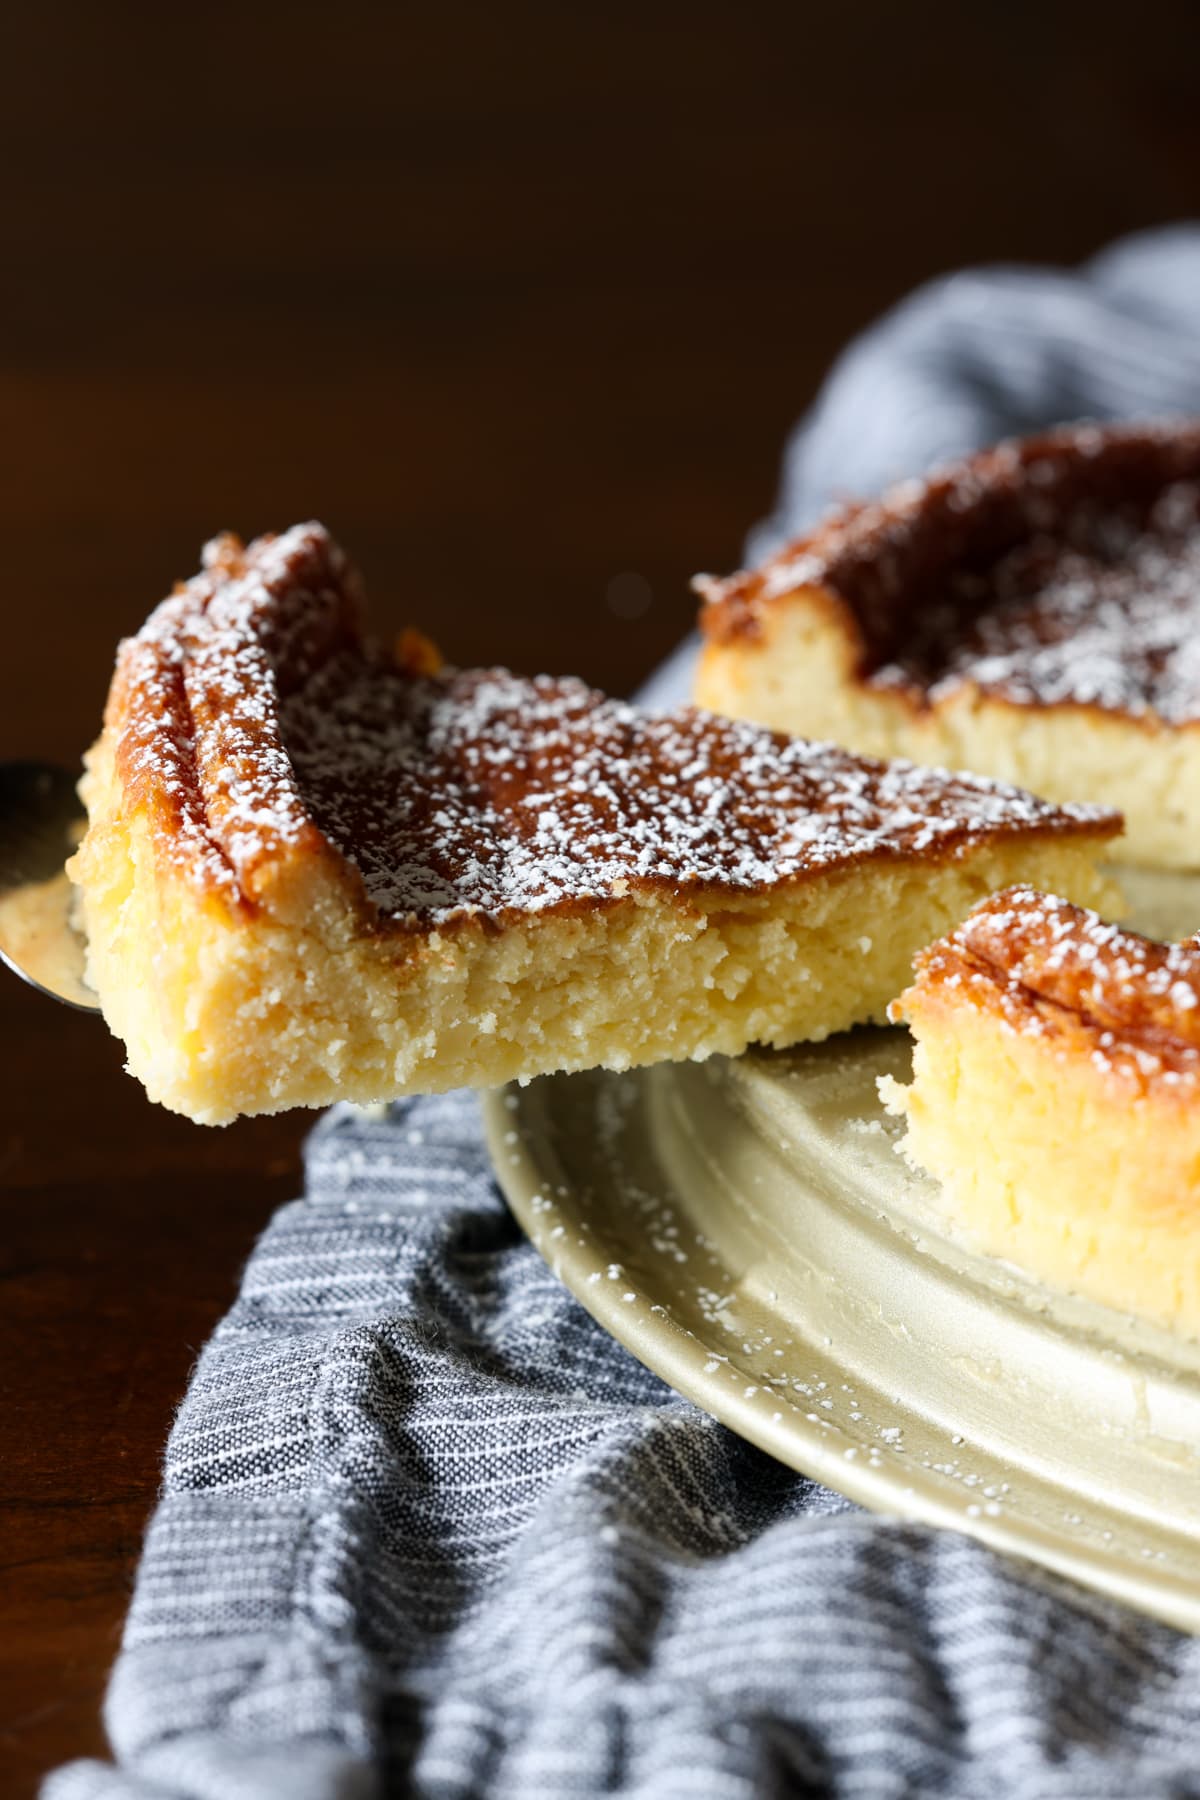
This Flourless White Chocolate Cake is so moist and tender, every bite melts away as soon as it hits your mouth. This decadent flourless cake is just as irresistible as any chocolate version and is naturally gluten-free!
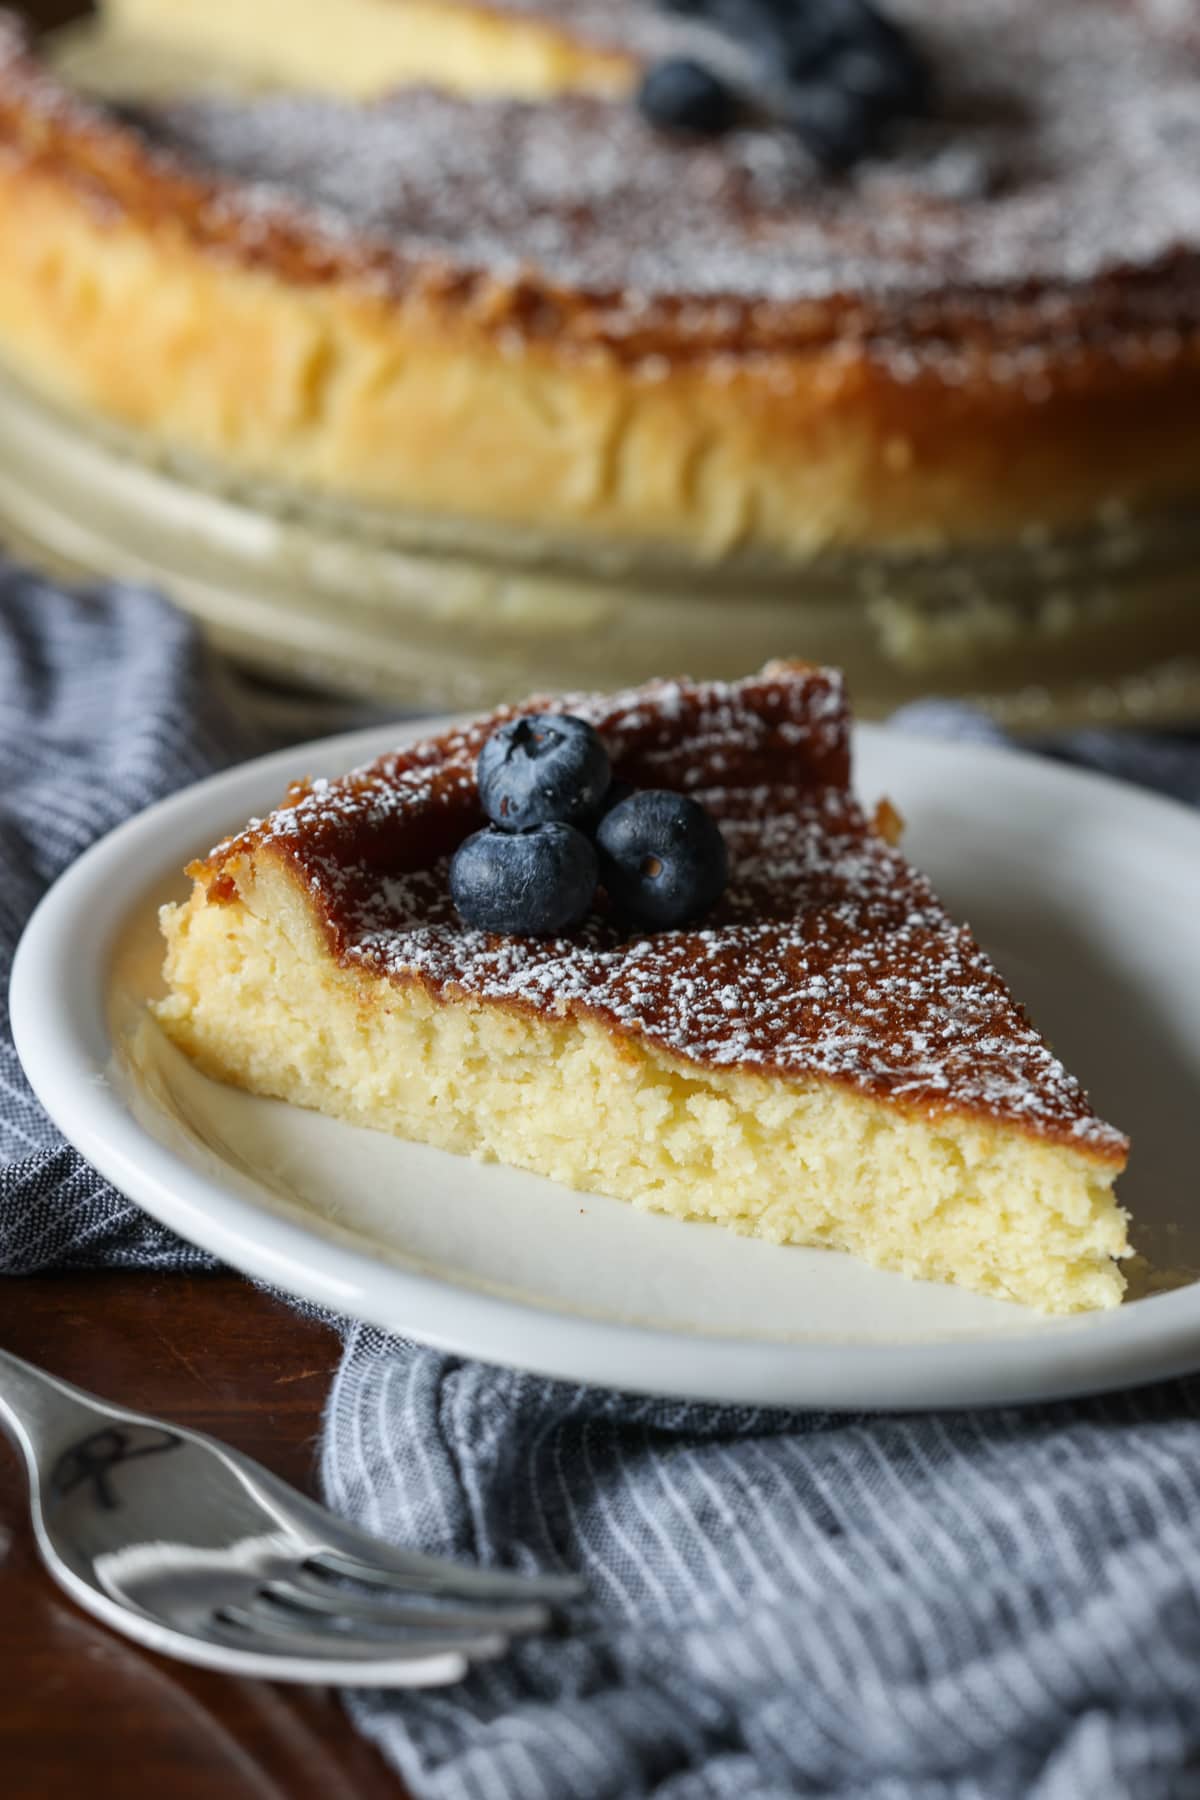
Fluffy Flourless White Chocolate Cake
It’s said that blondes have more fun, so let’s put it to the test! This flourless white chocolate cake is a fabulous “blonde” version of my decadent Flourless Chocolate Cake. This is an easy dessert that’s full of rich, buttery white chocolate, and naturally gluten-free.
I visited my son and daughter in law in North Carolina a few months ago and they took me to dinner and a Flourless White Chocolate Cake was on the dessert menu. They said it was insanely delicious, so of course I ordered it and it really was. I knew I had to recreate it, and while is isn’t an exact dupe (because I was working off memory alone), I got pretty close!
Why You’ll Love This Recipe
Prepare to fall in love with this incredible white chocolate flourless cake. Here’s why you’ll be head over heels:
- Simple ingredients. The beauty of flourless cakes is that they often come together with just a few pantry staples. With only 6 basic ingredients, this flourless white chocolate cake is no exception.
- Light and fluffy. This white chocolate cake comes out practically cloud-like. It’s light, airy, and decadent, and every bite melts in your mouth.
- Naturally gluten-free. If you’re in need of an easy gluten-free dessert, look no further than a flourless chocolate cake! This recipe is naturally free from gluten, without any funny add-ins.
What Do Flourless Cakes Use Instead of Flour?
Since a flourless cake doesn’t contain flour to stabilize it, traditional flourless chocolate cake relies solely on butter, sugar, and whisked eggs combined with chocolate to create a fluffy, cake-like sponge. Much like Flourless Peanut Butter Cookies, they’ll often include a bit of leavening to help the cake rise.
Unlike dark chocolate, white chocolate doesn’t contain any cocoa solids which would normally help hold together a flourless dark chocolate cake. For this recipe, I’ve added cream cheese, which acts as a stabilizer (much like it does in Cheesecake recipes).
What You’ll Need / Ingredients
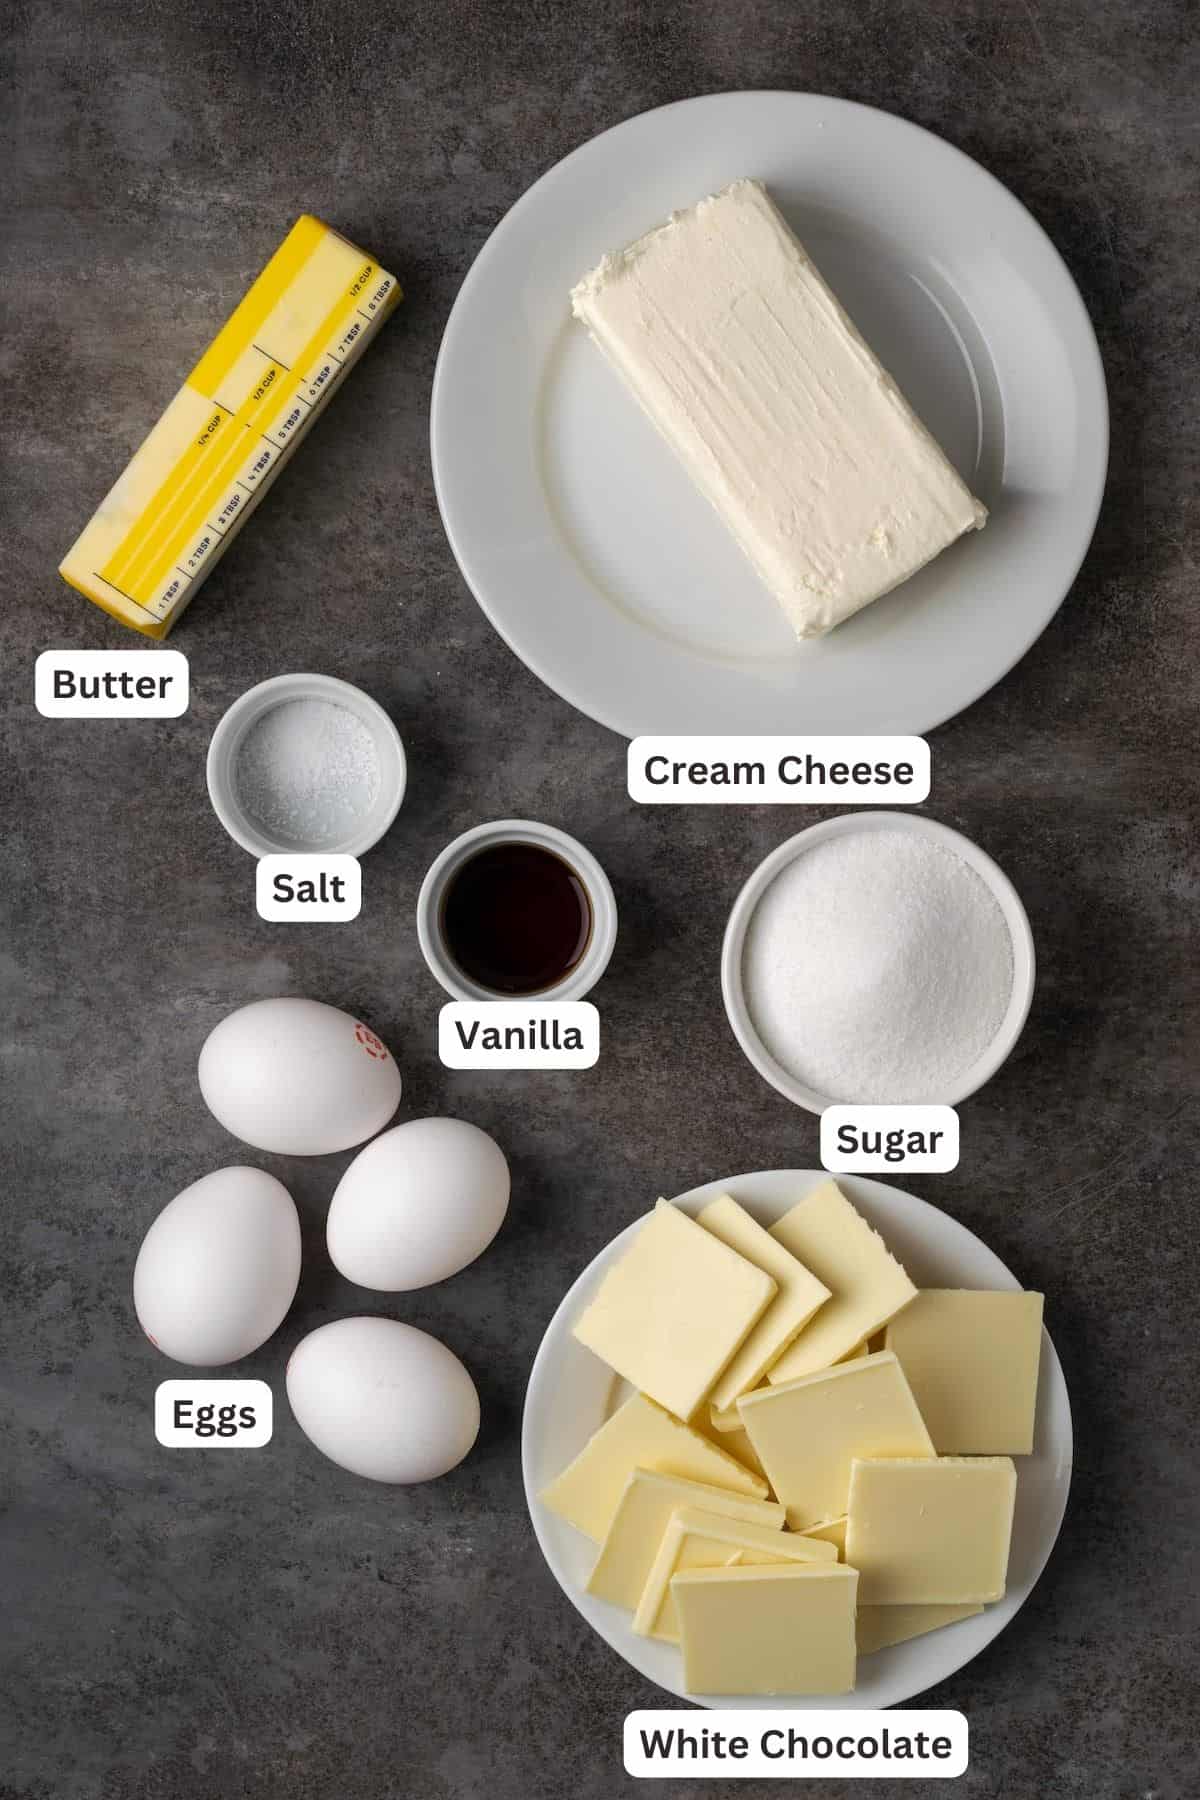
Let’s have a quick look at the very few ingredients you need to make a flourless white chocolate cake. Remember to scroll to the recipe card for the full amounts and recipe instructions.
- Cream Cheese and Butter: Both at room temperature. This cake contains cream cheese, but it is not a cheesecake. Cream cheese works to stabilize the cake, while butter adds richness.
- Sugar: I recommend using regular granulated sugar.
- Vanilla: For the best possible flavor, make sure to use pure vanilla extract over imitation vanilla.
- Eggs: Like your butter and cream cheese, your eggs should also be brought to room temperature before you start. You’ll need 4 eggs, whisked lightly.
- White Chocolate: As the star ingredient, I recommend using the best quality white chocolate that you can find (see below).
What’s the Best White Chocolate to Use?
Since you’ll be melting the white chocolate for your cake, I recommend using high-quality white chocolate that contains cocoa butter for the best texture and flavor. Lindt and Ghirardelli are good options. Just pay attention to the packaging if you’re making this recipe gluten-free, as some white chocolate brands may contain wheat.
How to Make Flourless White Chocolate Cake
We’ll be baking this flourless white chocolate cake in a springform pan with a water bath, or “bain marie”. To prevent the water from creeping into the pan, wrap a layer of foil tightly around the bottom. Next, coat the pan with cooking spray while the oven preheats to 325ºF. You’re ready to make the batter!
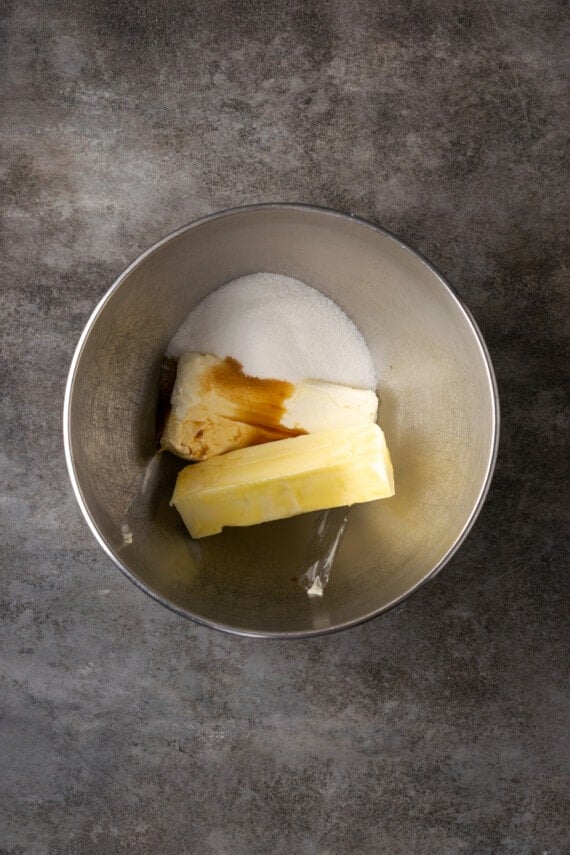
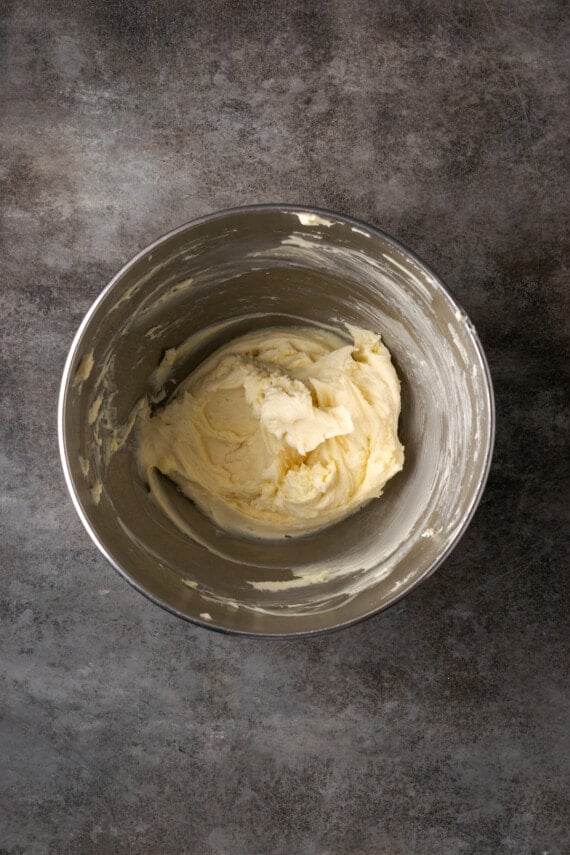
- Mix the ingredients. Beat together the cream cheese, butter, sugar, and vanilla with a pinch of salt. After a minute or two, add the whisked eggs, and beat the batter for a couple of minutes longer.
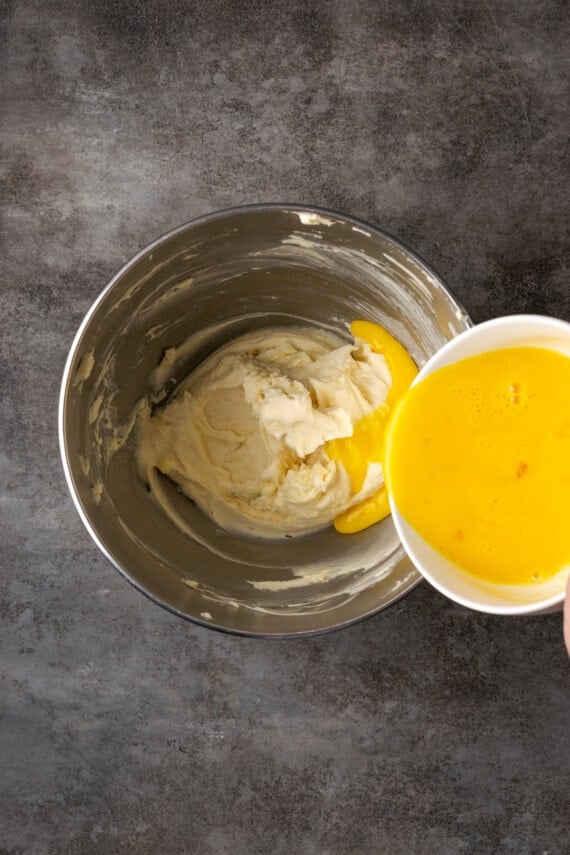
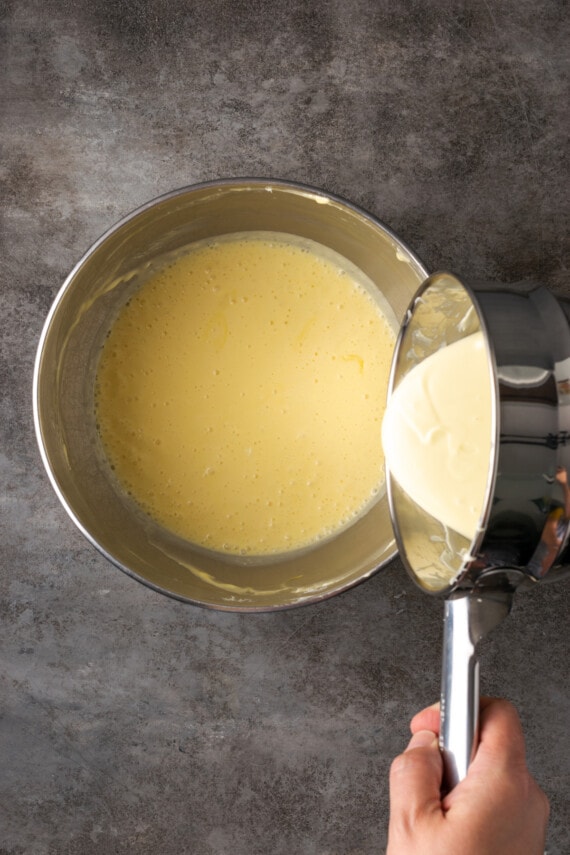
- Melt the white chocolate. Set the batter aside for now. In a double boiler, melt your white chocolate. Stir frequently while it melts, and take the chocolate off the heat once it’s smooth.
- Combine. Slowly stream the melted white chocolate into the batter, then whip for 5 minutes, until it’s light and fluffy. Next, spread your flourless cake batter into the prepared springform pan.
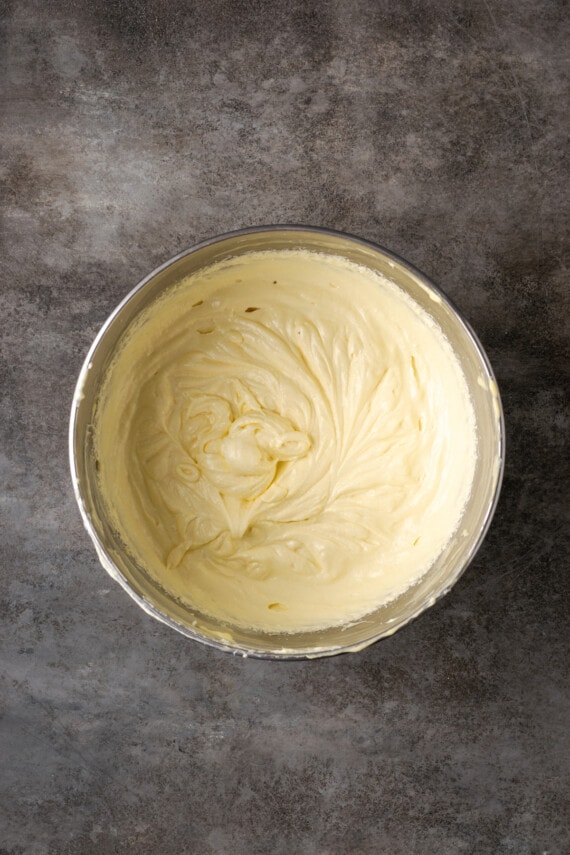
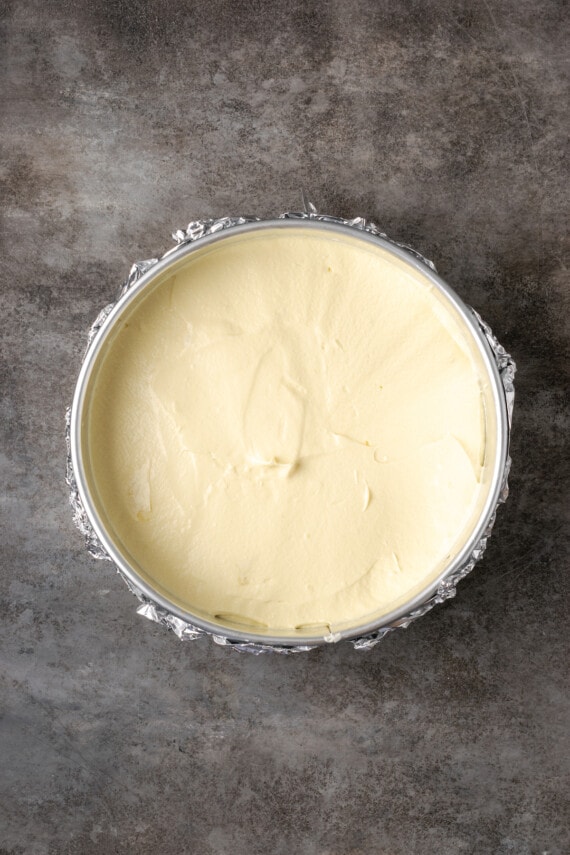
- Bake. Place the springform pan into a large roasting pan filled with about 1 inch of hot water. Bake the cake in the water bath for 45-50 minutes, until it’s nearly set in the middle. At this point, switch off the oven and leave the cake in there, with the door propped open, for about an hour.
- Cool completely. After an hour, take the cake out and discard the water bath. Remove the foil from the springform pan, then leave the cake to cool to room temperature. Finally, cover and chill the cake in the fridge. I like to make this cake the day before I plan on serving it so that it can chill completely overnight.
- Serve. Release your flourless cake from the pan, garnish, and serve! See below for easy serving ideas.
Do I Need to Use a Water Bath?
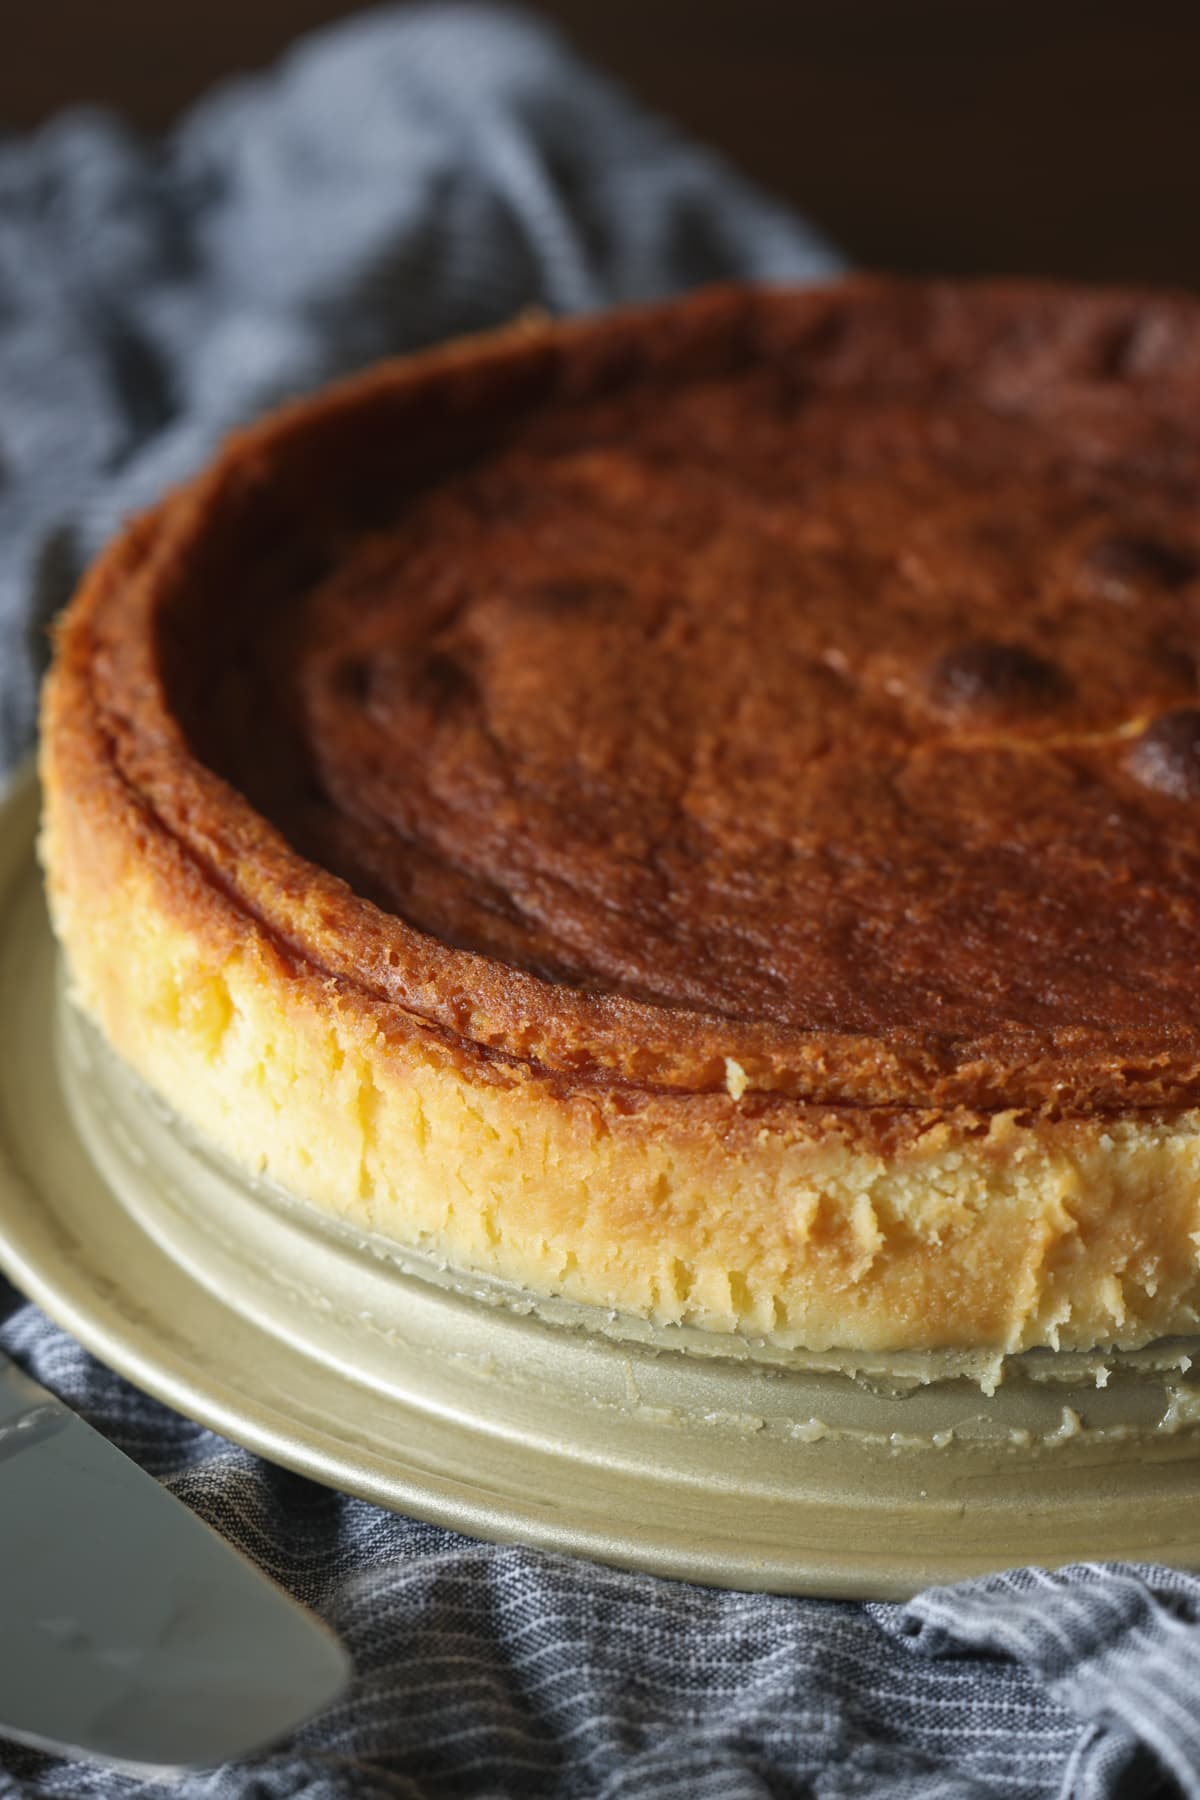
Even though this flourless cake isn’t a cheesecake, I prefer to bake it in the style of one: with a water bath and a gradual cool-down while it’s still in the oven. The water bath creates moist heat inside the oven and encourages even baking, and avoiding sudden temperature changes keeps the top of the cake from cracking. This method is certainly the way to go if you’re a perfectionist!
This being said if you’re fine with a slightly cracked top, go ahead and skip the water bath. I would still let the cake cool off inside the oven, though.
Tips for Success
Keep these tips in mind for the perfect flourless white chocolate cake:
- Use room temperature ingredients. This is important to ensure that the ingredients thoroughly combine and the cake bakes evenly. Remember to take the ingredients out of the fridge about a half-hour beforehand.
- The cake should be slightly jiggly, but not loose when you leave it to gradually cool inside the oven.
- If the top of the cake is browning too quickly, tent the pan with foil (just be careful that you don’t touch the cake).
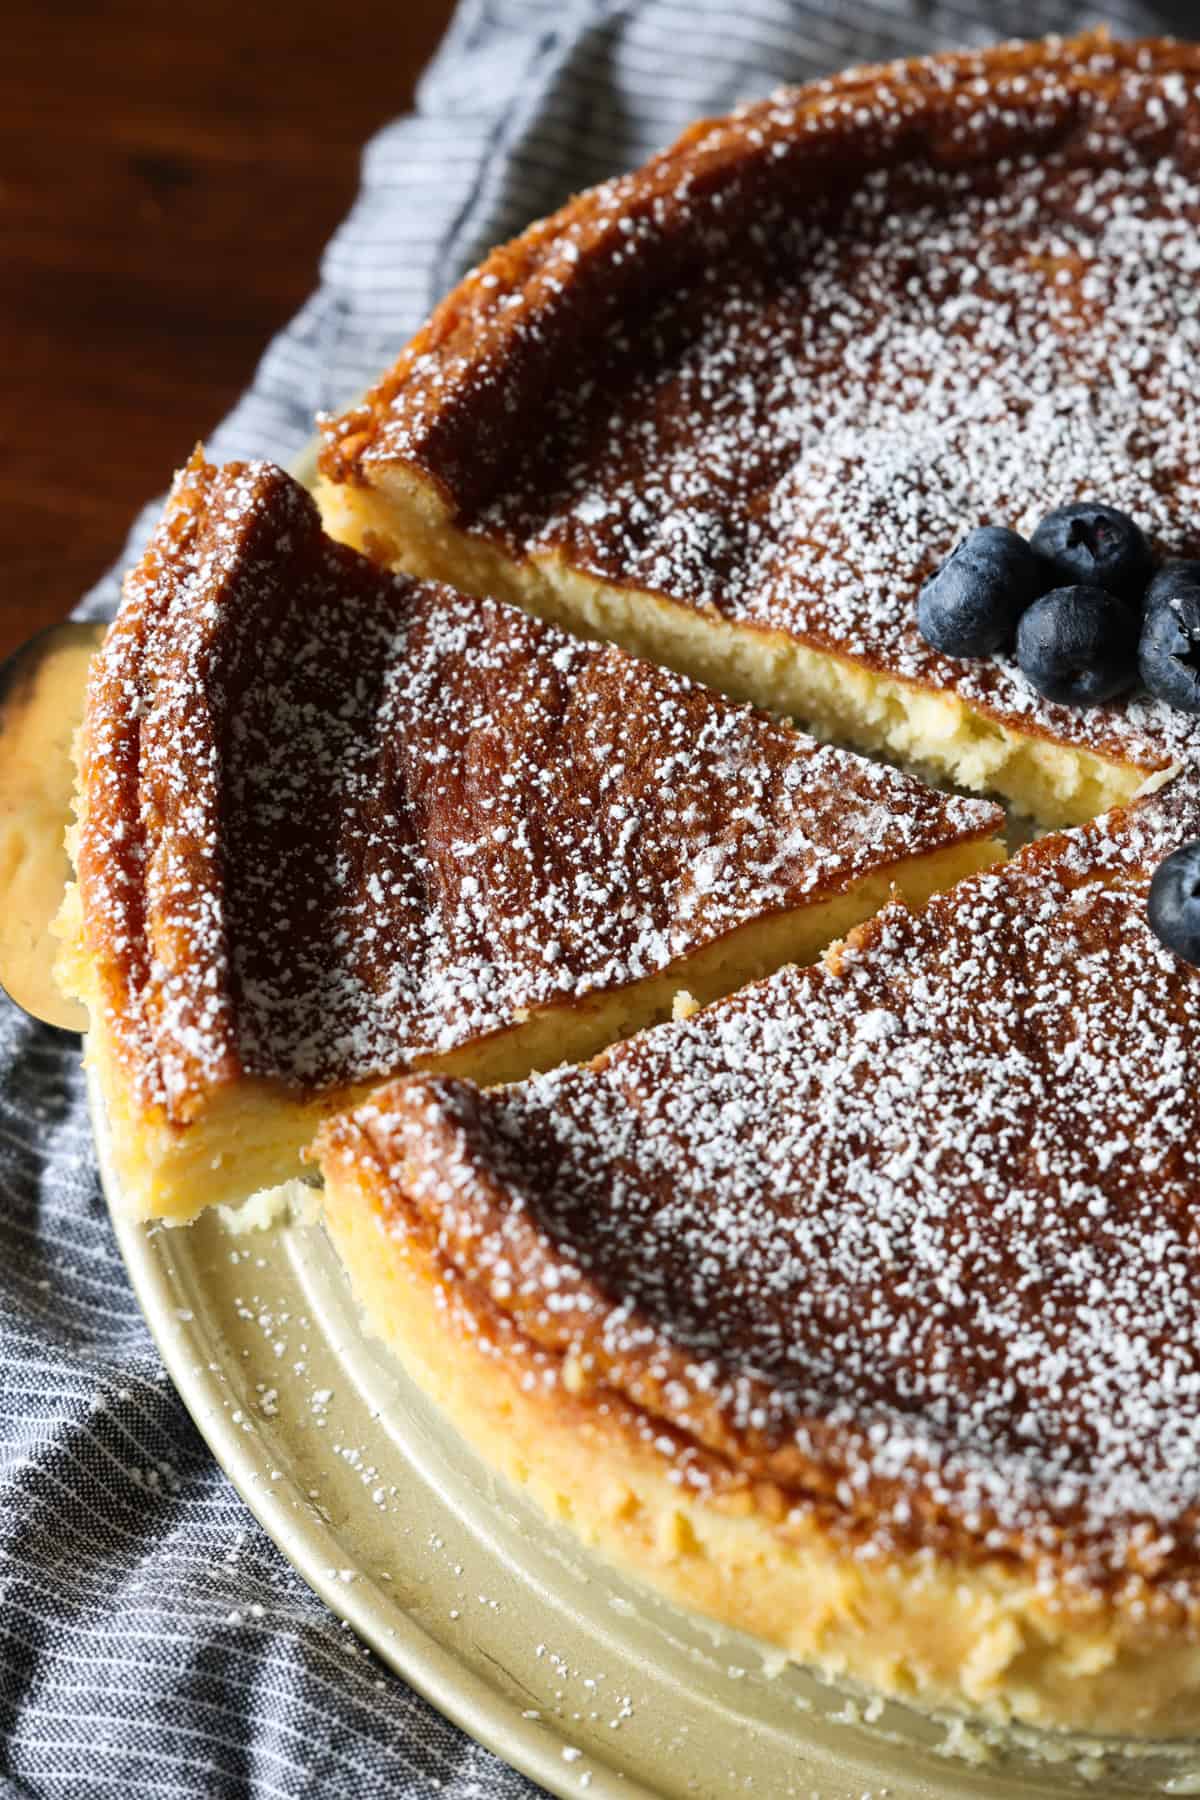
- For clean slices, use a hot knife when serving your flourless cake. Run the blade of the knife under hot water, wipe it with a paper towel, then slice. Repeat for each slice of cake. Voila!
Common Questions
Your flourless chocolate cake is done baking when the top is golden and the center is mostly set with a slight wiggle. It will continue to set as it gradually cools down in the open oven.
Yes! This cake stores well and it’s easy to freeze. Flourless chocolate cakes can be frozen for up to 3-4 months. See below for helpful storage and freezing instructions.
Serving Suggestions
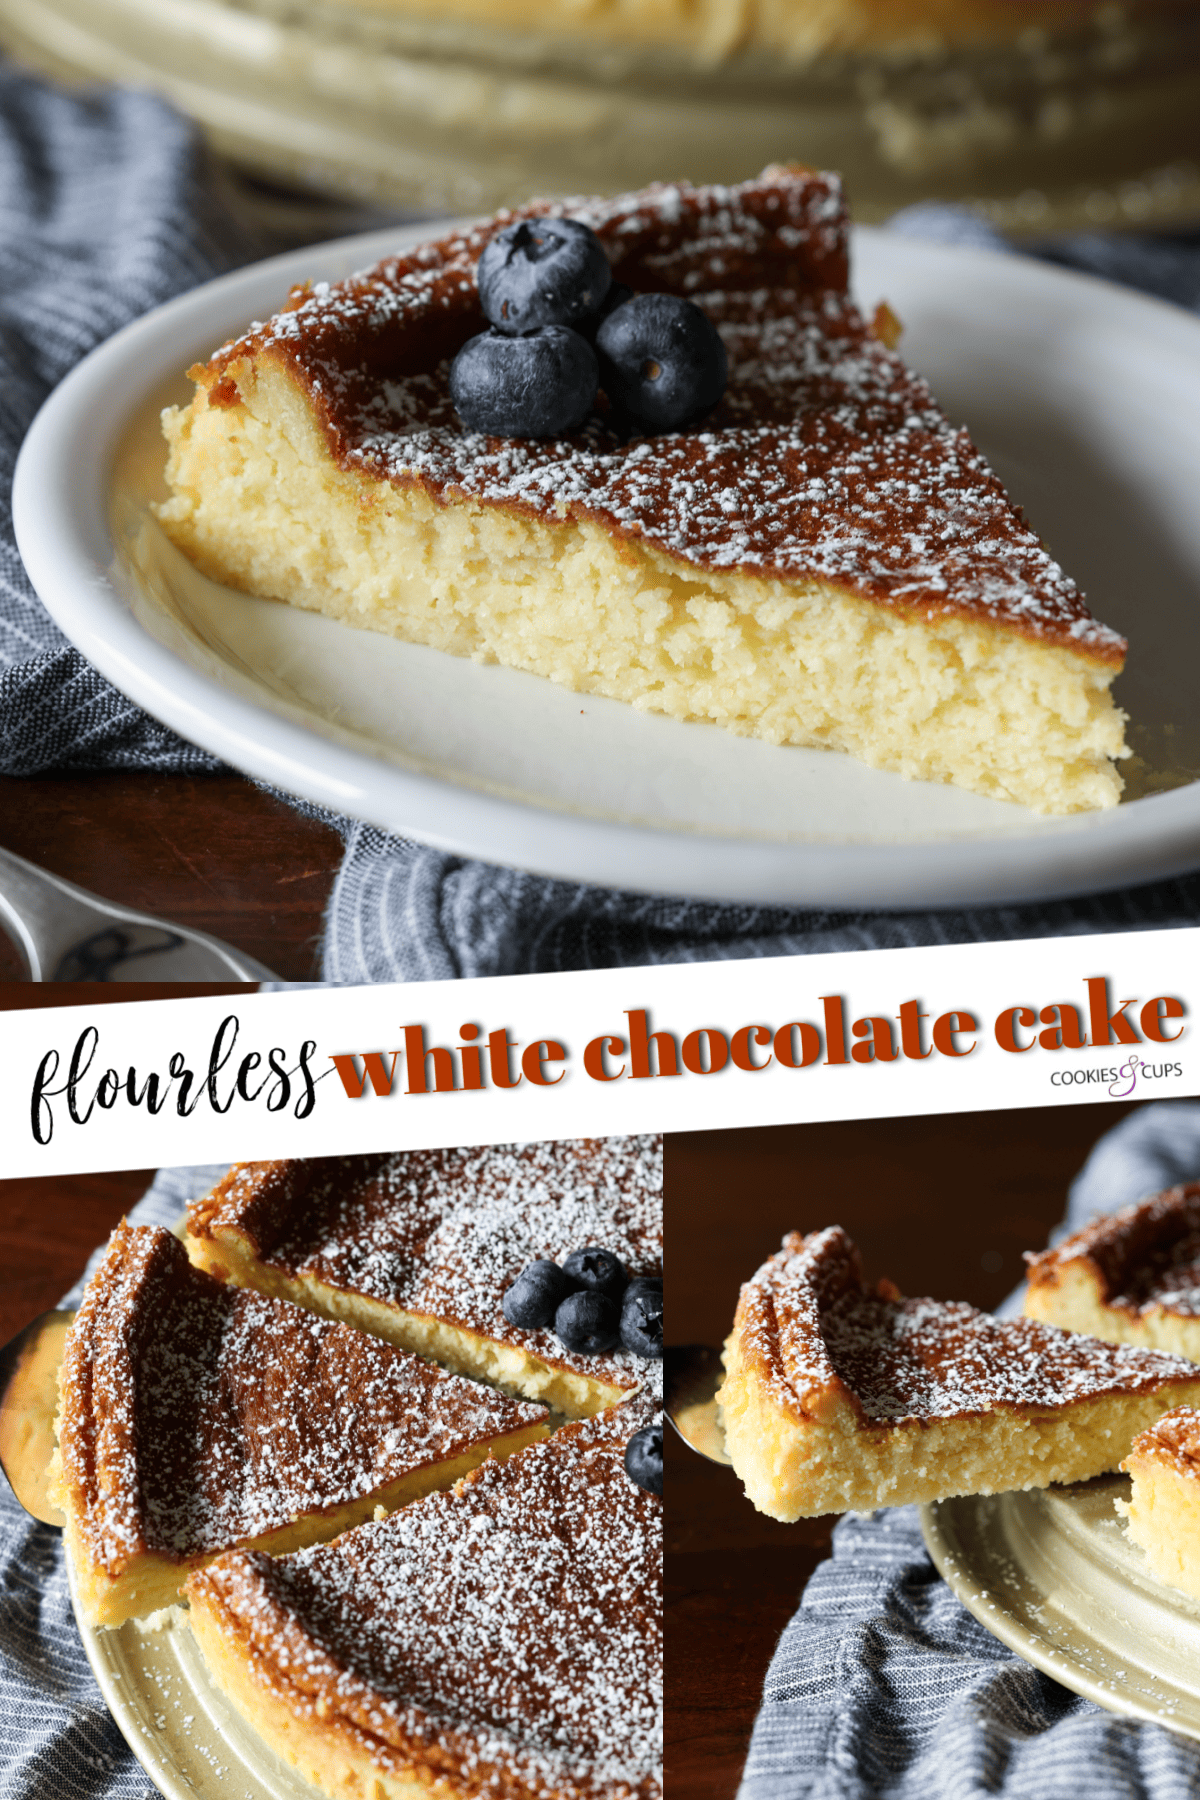
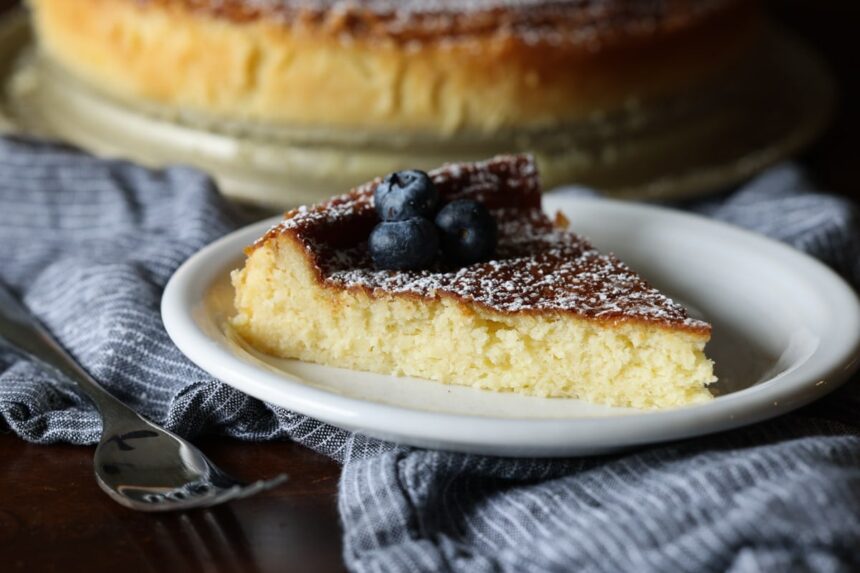
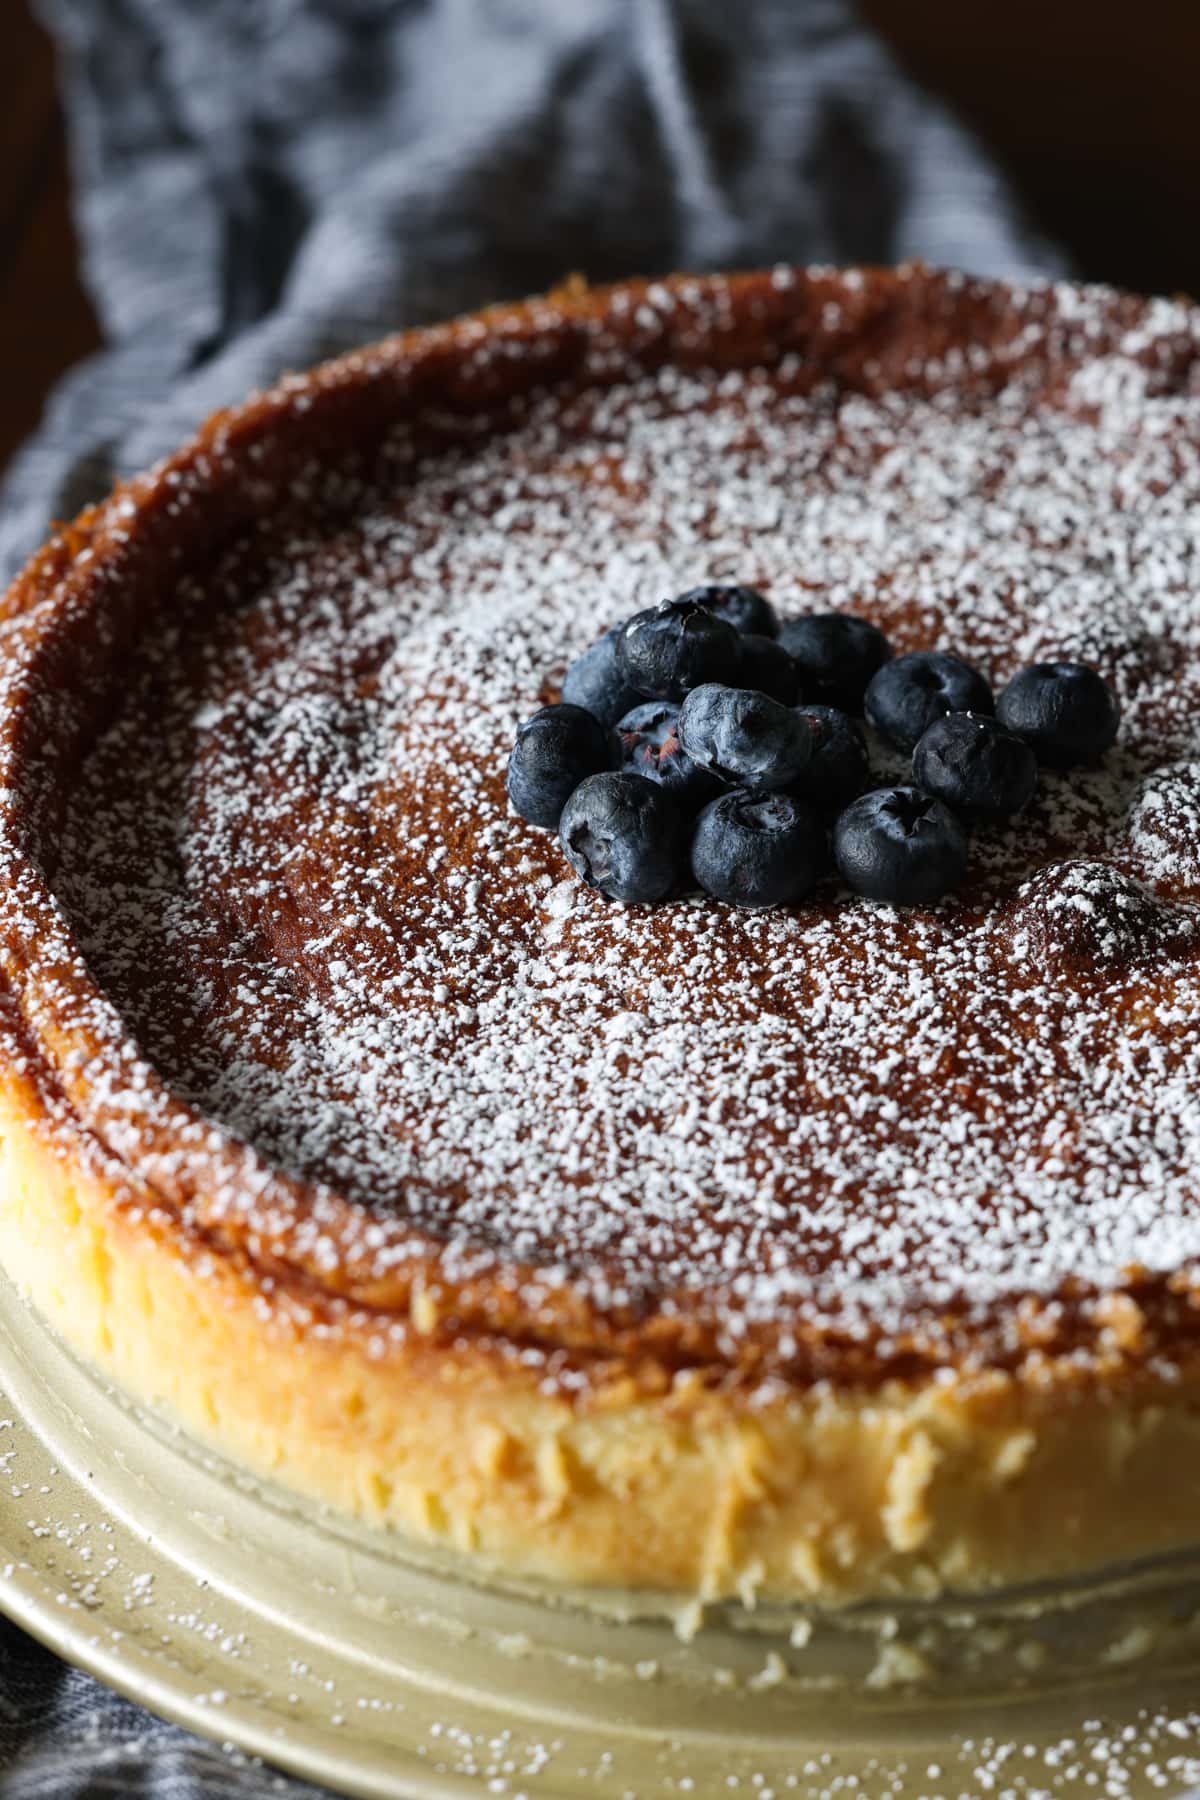
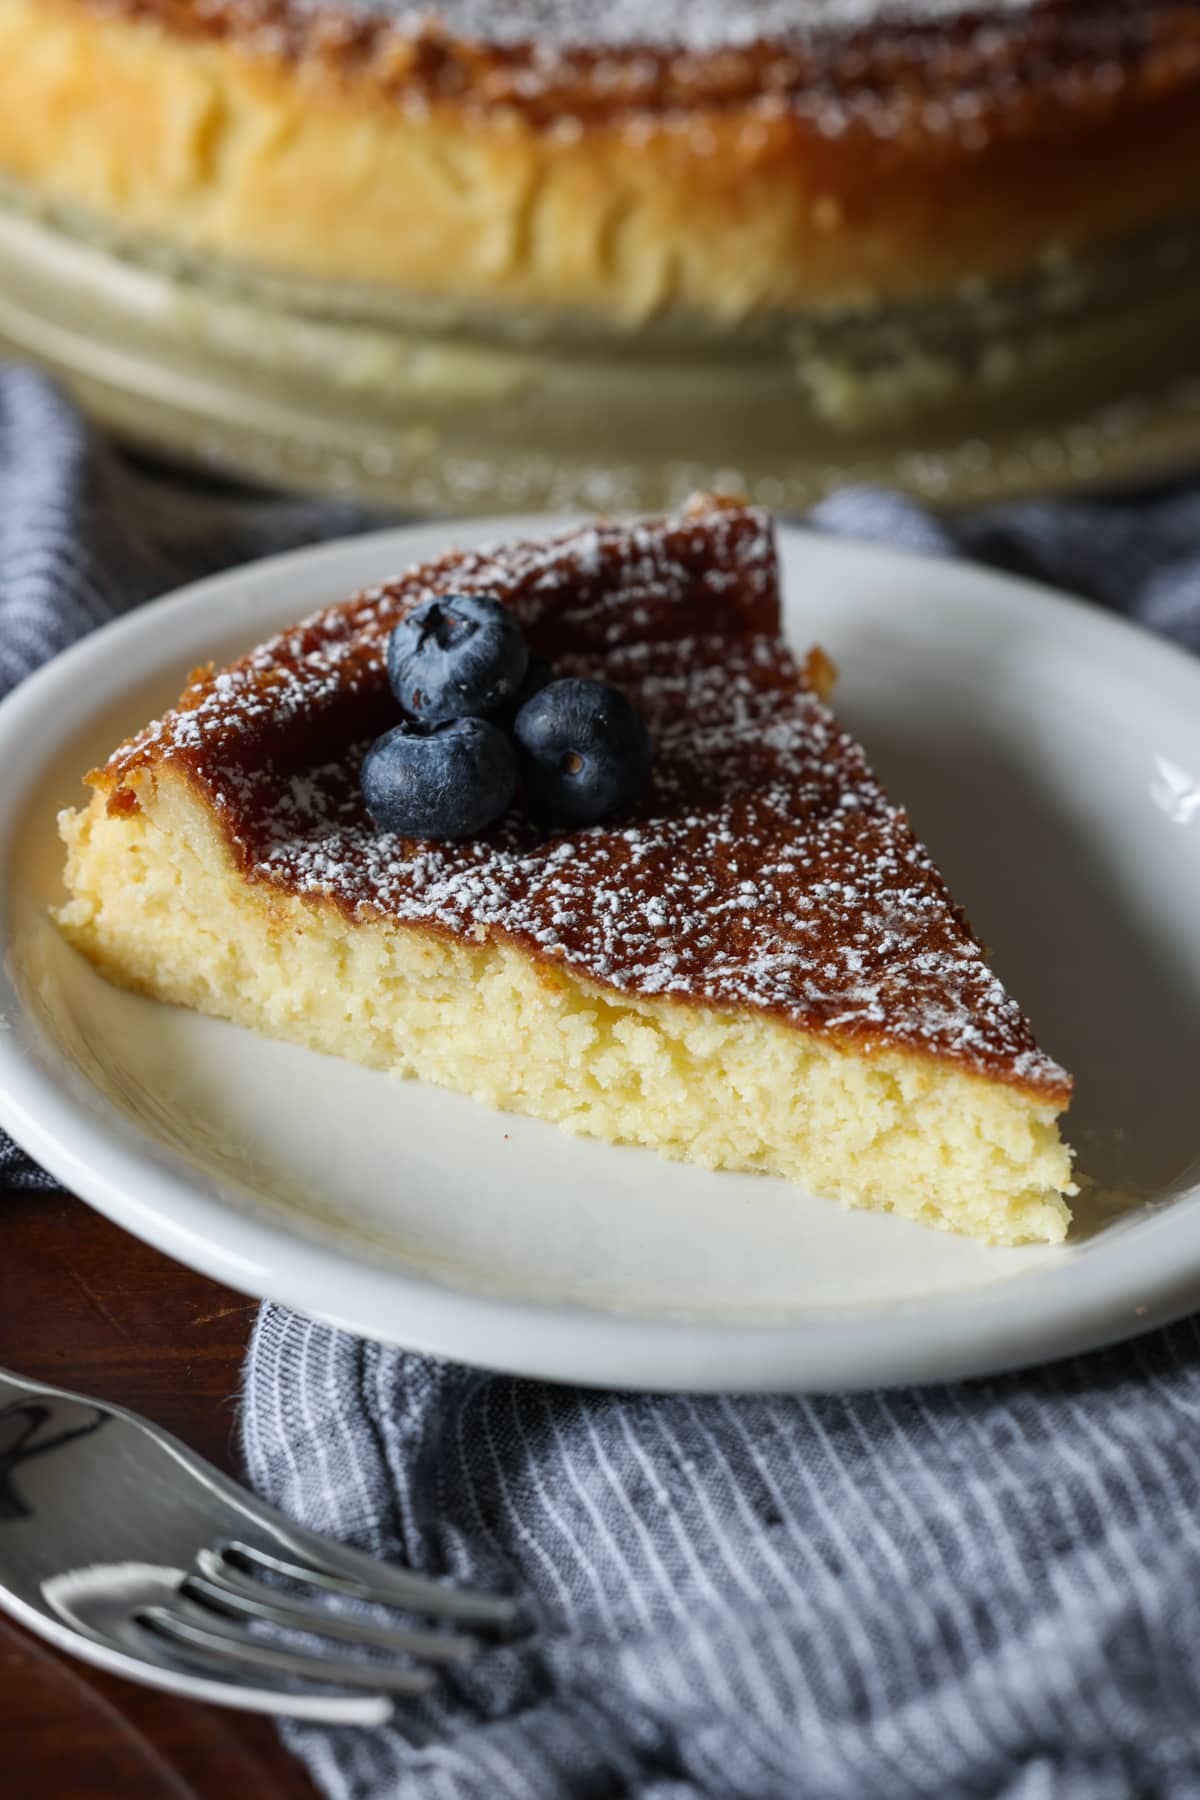
I love topping this flourless white chocolate cake with a dusting of powdered sugar, and fresh berries are the best garnish. Add on fresh blueberries, strawberries, or raspberries. For extra indulgence, top your slices with whipped cream and a drizzle of homemade Strawberry Syrup or Caramel Sauce. You could even pour over some Chocolate Ganache.
How to Store
This cake can be kept airtight in the fridge for up to 3 days. It’s a wonderful dessert to make ahead, as the flavors intensify over time.
Can I Freeze Flourless Chocolate Cake?
Yes! You can freeze a flourless white chocolate cake either whole or in slices. To freeze the whole cake, once the cake is completely cooled and chilled in the fridge, double-wrap the pan tightly in plastic wrap and freeze.
Slices should also be wrapped tightly or stored in an airtight container. This cake can be frozen for up to 3-4 months and defrosted in the fridge for serving.
More Chocolate Dessert Recipes
Description
This Flourless White Chocolate Cake is moist, tender, and every bite melts in your mouth. It’s just as irresistible as any chocolate version and naturally gluten-free!
- 8 ounces cream cheese, room temperature
- 1/2 cup butter, at room temperature
- 1/2 cup granulated sugar
- 1/4 teaspoon kosher salt
- 2 teaspoons vanilla extract
- 4 eggs at room temperature, lightly whisked
- 8 ounces white chocolate, chopped
- Optional garnish – whipped cream/berries
- Preheat the oven to 325°F. Coat a 9-inch springform pan with nonstick spray. Wrap aluminum foil tightly around the bottom of the pan. You will be placing the pan in a water bath in the oven, so the foil is to prevent water from leaking into the pan.
- In the bowl of your stand mixer fitted with the whisk attachment mix together the cream cheese, butter, sugar, salt, and vanilla extract. Mix on medium-high speed for 2 minutes until combined. Add in the eggs and mix for an additional 2 minutes. Set aside.
- Place the white chocolate in a medium heat-safe bowl. Add 1 – 2 cups of water into a small saucepan (so it’s about 2- inches deep in the pan.) Place the bowl on top of the saucepan and bring the water to a simmer, creating a double boiler. Stirring frequently until the white chocolate is melted and smooth. Remove the bowl from the heat.
- Turn the mixer to low speed and slowly drizzle in the melted white chocolate. Increase the mixer speed to high and continue to mix for 5 minutes. The mixture will get fluffy.
- Spread the batter into the prepared pan evenly. Place the springform pan into a large roasting pan. Fill the pan up about 1 -inch with very hot water. Place the roasting pan into the oven and bake for 45 – 50 minutes until the top is golden (*see note) and the center is almost set. (It should jiggle slightly, but not be loose). Turn the oven off and prop open the oven door. Allow the cake to remain in the oven for 1 hour.
- Remove the cake from the oven, remove it from the water bath, and remove the foil. Allow the cake to cool completely to room temperature and then cover the pan and refrigerate until completely chilled, at least 3 hours (overnight is best).
- When ready to serve, run a butter knife around the edge of the pan to loosen the cake from the sides.
- Garnish with whipped cream and/or berries if desired.
Notes
- If you notice the top browning too quickly, lightly tent a piece of aluminum foil on top, careful to not allow it to touch the top of the cake.
- Store airtight in the refrigerator for up to 3 days.
Want To Save This Recipe?
Find more recipes like this:
PIN for later:
