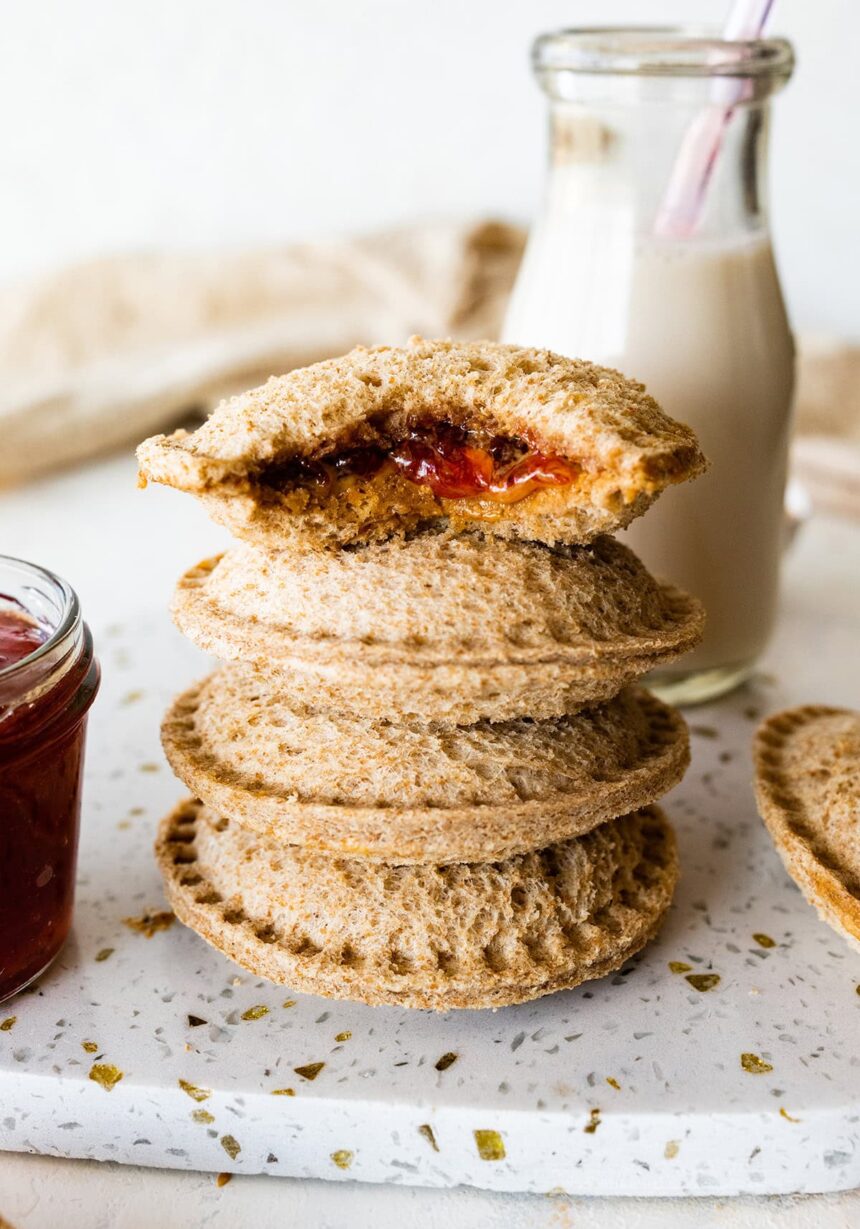
Make your own homemade uncrustables with just 3 simple ingredients! They’re easy to make, freezer-friendly, portable and the perfect lunch idea for kids.
Both Olivia and Tucker love a good ol’ fashioned peanut butter and jelly sandwich, or in our case sunbutter and jelly (because their school is nut-free), but they’re iffy about eating the crust, so that’s where these homemade uncrustables come in!
These homemade uncrustables are much cheaper then buying the Smuckers version at the store and you can control the ingredients being used. Trust me, once you start making uncrustables at home, you’ll never go back to the packaged ones! Plus, they’re super easy to make, especially if you get a sandwich cutter and sealer.
They’re perfect for meal prepping, kid-approved and great for school lunches. One of Olivia’s favorite school lunches in an uncrustable packed with some type of fruit, cheese, a chewy granola bar and this pesto pasta salad. If you’re looking for more ideas check out my full guide on kid’s lunch box ideas.
and the Google Privacy Policy and
Terms of Service apply.
Why You’ll Love This Recipe
- Healthier and Cheaper – They’re cheaper than the store-bought version. Plus, you can control the ingredients so they can be made healthier!
- Easy – With just 3 main ingredients, you can whip up a batch of these homemade uncrustables in no time.
- Customizable – Use your favorite bread and fillings with this recipe!
- Perfect for Meal Prep – Make a big batch to store in the freezer. Then you have them on hand ready to be packed for school lunches or to be eaten as a quick snack.
Ingredients Needed
- bread – I typically use homemade sourdough sandwich bread from my mother-in-law or Nature’s Own whole wheat bread, but any soft, sandwich style bread will do for this recipe. Just make sure it’s fresh and soft for the best results.
- nut butter – choose your preferred nut or seed butter, whether it’s peanut butter, almond butter or sunflower seed butter for a nut-free option.
- jelly or jam – you can’t have an uncrustable without the jelly or jam! Choose your favorite flavor whether it’s classic grape, strawberry, blueberry or raspberry… the flavor options are endless! My chia jam is also amazing and a great sub for store-bought jam.
Recipe Substitutions & Notes
- Make it nut-free: Swap the nut butter with sunflower seed butter or tahini.
- Make it gluten-free: Use your favorite soft gluten-free bread.
- Optional add-in’s: Sometimes if I’m feeling fancy I add fresh fruit slices like strawberries or banana to the uncrustables. Or I’ll drizzle on some honey for an added touch of sweetness. See below for some more filling ideas!
- Want to switch up the fillings? Go for it! Use cream cheese instead of nut butter, apple butter or pumpkin butter instead of jam, go for nutella instead of a classic PB&J or go savory with hummus, turkey or ham and cheese. The options are endless! Just be mindful of the amount of filling you use. Too much filling can make it difficult to seal the sandwich and can lead to the contents spilling out.
How to Make Homemade Uncrustables
Step 1: Lay two slices of bread out. Spread the nut butter or seed butter on one half and the jelly on the other half.
Step 2: Use a sandwich sealer to cut out a circle from the sandwich, removing the crust. Press down firmly to ensure a clean cut.
Step 3: Add the sandwich sealer piece to the round sandwich cutter. Press down to seal the sandwich.
Step 4: Serve immediately or if you’re storing for later, wrap in a plastic wrap or place in a sandwich bag. Store in the refrigerator for up to 2 days or freeze for up to 1 month.
Brittany’s Tips!
- Buy a sandwich cutter: I know you can technically make uncrustables without a sandwich cutter and sealer, but trust me on this one! If you plan to make a lot of uncrustables for your kiddos I recommend just buying one. It’ll make your life a lot easier!
- Use the right bread: Make sure you’re using a soft, sandwich style bread for these uncrustables. An artisan bread won’t work as well.
- Don’t overfill: Be careful not to use too much nut butter or jam otherwise it will leak out and create a mess!
- Thaw in the lunch box: If you’re storing these in the freezer they can be taken out and put in lunchboxes in the morning, and they’ll be thawed and ready to eat by lunchtime.
How to Store
These homemade uncrustables are the perfect kid-friendly recipe to meal prep for school lunches! Here’s how to store them:
- In the fridge: Place your sealed sandwich in an airtight container or a zip-loc bag and store in the refrigerator for 2 days.
- In the freezer: For longer storage, freezing is the way to go! After making your uncrustables, lay them flat on a baking sheet and place them in the freezer for a couple of hours until they’re frozen solid. Once frozen, transfer them to a freezer-safe bag or container. They can be stored in the freezer for up to 1 month.
- To thaw: To thaw your uncrustables, simply take one out and let it thaw at room temperature or in the fridge for a few hours. You can also pack them in your kids lunch box straight from the freezer and they’ll thaw by lunch time. How easy is that?!
Frequently Asked Questions
Any soft, sandwich style bread will do for uncrustables. Just make sure it’s fresh and soft for the best results. An artisan bread that’s harder won’t work as well. Whole wheat bread is my go-to because it’s hearty and nutritious. I typically use Nature’s Own whole wheat bread, but One Mighty Mill Whole Wheat Bread is a great option for a bread that doesn’t have preservatives or artificial ingredients.
There are several great options out there, but my favorite is the Savoychef sandwich cutter and sealer. It makes perfectly sealed, crust-free sandwiches that look just like the store-bought ones. Plus, my kids love the fun shapes it comes with!
No sandwich sealer? No problem! You can easily make uncrustables with a cookie cutter or glass (like a mason jar) to cut out a circle from the sandwich, removing the crusts. Just make sure to press down firmly to ensure a clean cut. Then you can use a fork to press down and crimp the edges of the bread circle, sealing the sandwich. Make sure to press firmly to prevent the filling from leaking out!


