

Help keep One Green Planet free and independent! Together we can ensure our platform remains a hub for empowering ideas committed to fighting for a sustainable, healthy, and compassionate world. Please support us in keeping our mission strong.
Making dairy-free yogurt is a breeze, and you only need two main ingredients for a simple version. While this guide suggests blending the mixture, you can also mix it by hand in a ceramic bowl if you prefer.
Once you have the basics down, feel free to customize your yogurt with fruits, nuts, or spices to suit your taste. Just keep in mind that while the process is straightforward, it does require some patience; the yogurt needs to ferment for over 8 hours, so it’s best to prepare it the day before you plan to enjoy it. Here’s a step-by-step guide to making your own dairy-free yogurt.
1. Prep Your Coconut Meat
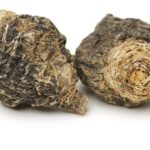
Start by adding some thickness to your yogurt with coconut meat. Crack open a young coconut, scoop out the meat, and put it into your blender.
2. Add Liquid & Blend
Once you have your coconut meat ready, choose ½ cup of liquid to blend with it. Coconut water is a great choice, but soy milk works well too. Blend until smooth, adding more liquid if you prefer a thinner consistency.
3. Stir in Powders
To capture the probiotic benefits of traditional yogurt, mix in one tablespoon of probiotic powder. These beneficial organisms, like yeast or live bacteria, Support your gut health. According to Dr. Stefano Guandalini, a pediatric gastroenterology expert, “Probiotics can improve intestinal function and maintain the integrity of the lining of the intestines.” You can also add one tablespoon of vanilla bean powder or experiment with flavors like chocolate or acai to suit your palate.
4. Ferment for 8-10 Hours
Now comes the fermentation stage. Pour the blended mixture into a bowl and cover it. Dehydrate it at 105°F for about 8-10 hours. If you don’t have a dehydrator, simply place the bowl in a warm, dark, and dry spot for the same amount of time. This fermentation period is essential for developing the probiotics.
5. Chill Until Ready to Use
Once fermentation is complete, transfer the bowl to the fridge and keep it chilled until you’re ready to use it.
6. Add Fun Extras and Enjoy!
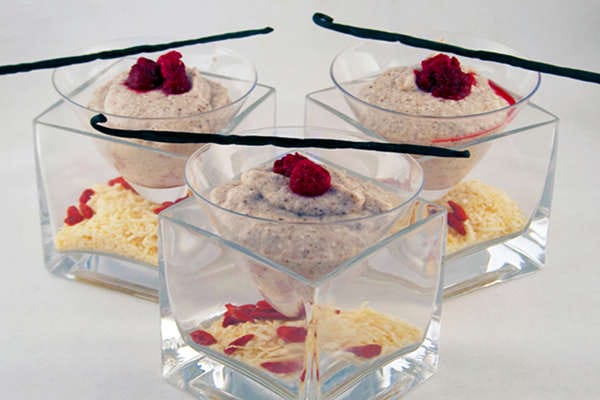
When you’re ready to dig in, stir in your favorite toppings for added flavor. Think berries, bananas, nuts, cinnamon, granola, or anything else you love. The possibilities are endless!
7. Add Fun Extras and Enjoy!
When you’re ready to dig in, stir in your favorite toppings for added flavor. Think berries, bananas, nuts, cinnamon, granola, or anything else you love. The possibilities are endless!
Get Creative!
As you explore making dairy-free yogurt, consider incorporating some of the latest improvements and trends:
- Diverse Bases: Feel free to experiment with bases like cashews, almonds, or oats for different flavors and textures.
- Store-Bought Options: If you’re short on time, many brands now offer delicious, probiotic-rich plant-based yogurts.
- Improved Fermentation: Using specific probiotic strains can enhance flavor and texture, so consider adding a yogurt starter culture for better results.
- Flavor Enhancements: Incorporate natural flavorings and sweeteners for a variety of taste experiences.
- Thickening Agents: Try using natural thickeners like agar-agar or tapioca starch for a creamier yogurt.
- Simplified Processes: Look for recipes that reduce fermentation time or complexity to make the process more accessible.
- Nutritional Enhancements: Consider adding superfoods or fortified ingredients to boost the nutritional profile of your yogurt.
Vegan Yogurt Recipes:
Enjoy your homemade dairy-free yogurt!


![Berry Lavender Poached Pears With Granola [Vegan, Gluten-Free] – One Green Planet](https://top-100-recipes.com/wp-content/uploads/2026/03/berry-lavender-poached-pears-with-granola-d-150x150.jpg)